Featured Post

Ask the Experts: How To Plan a Caribbean Destination Wedding
Ask the Experts: How To Plan a Caribbean Destination Wedding The Caribbean is a dream...
Ask the Experts: How To Plan a Caribbean Destination Wedding The Caribbean is a dream...
19
Dec
2012
By Boho
This weeks new blogging schedule is a bit all over the place as it is the week before Christmas, so this afternoon and tomorrow afternoon I will be sharing with you a couple of Christmas DIY Tutorials. Today’s comes from the very lovely Tracey at Campbell’s Flowers. As you know Tracey is a regular to the Blog and creates some of the best wedding blooms there are, so good she is putting together my very own Christmas day table decoration! I can’t wait to see what she comes up with!
Today Tracey is showing us how to make a Christmas Table Wreath.

Today’s design is a simple, rustic, very natural wreath ring which you can adapt to suit your Christmas theme and table plans. You could fill the centre with jam jars, mason jars, votives or even a huge church candle or, alternatively, place a bowl in the centre and fill it with goodies such as more nuts or sweeties in brightly coloured wrappers. The sky’s the limit!
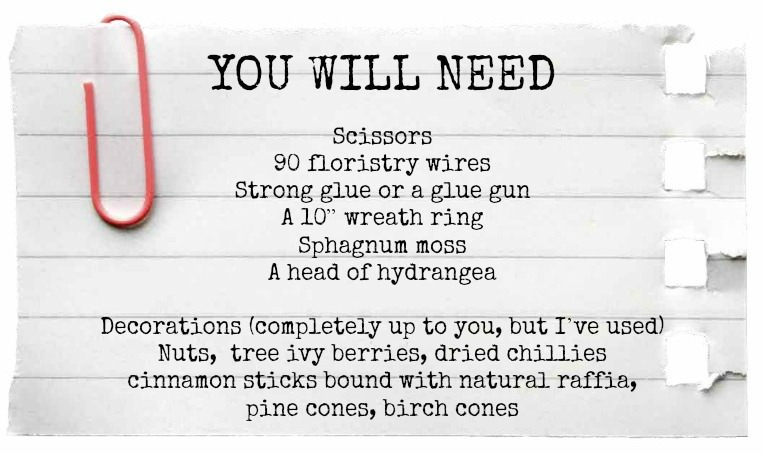
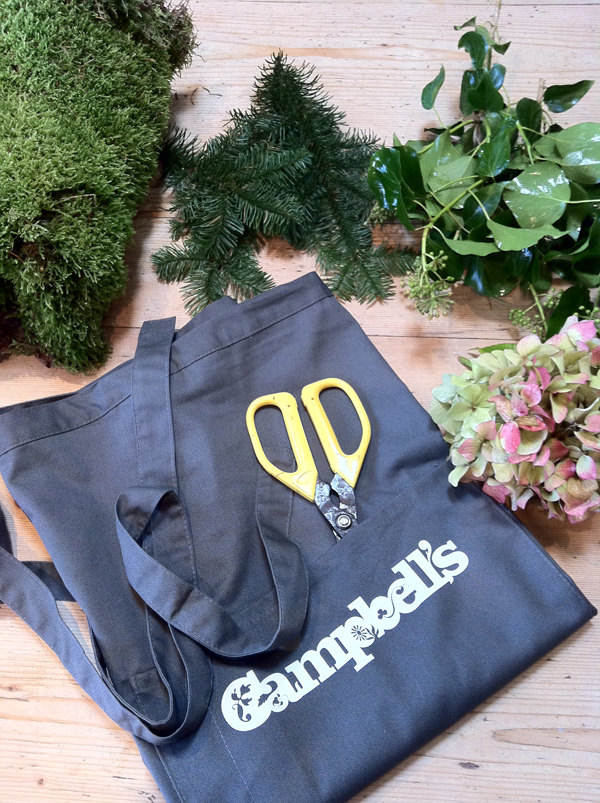
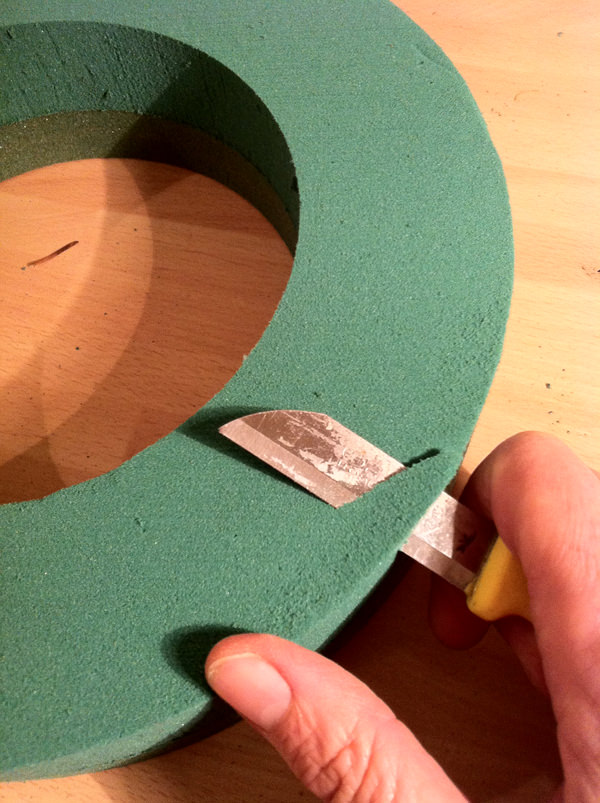
STEP 1) Gather everything you’ll need together in one place and be prepared for a bit of mess – moss is really messy! Then, begin by trimming both the outside and inside edges of the wreath ring. This just helps create a nice smooth, rounded finished shape.
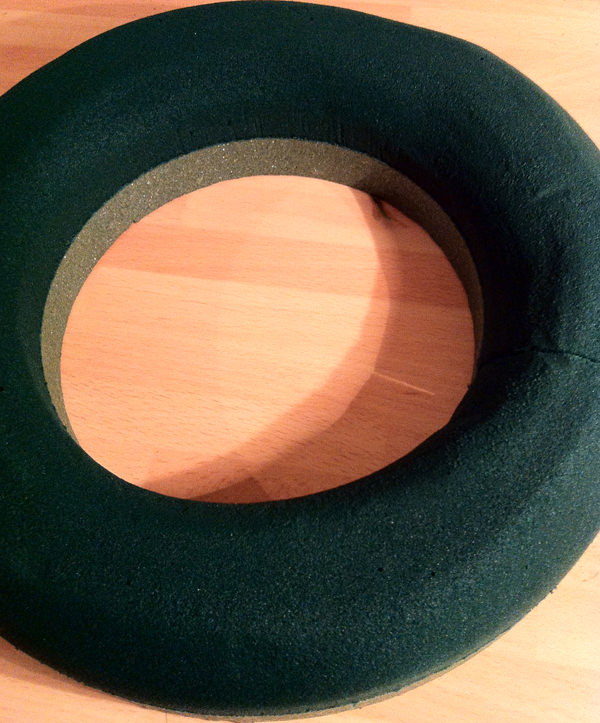
STEP 2) Gently rub the excess oasis off the bevelled edges and soak the frame really well
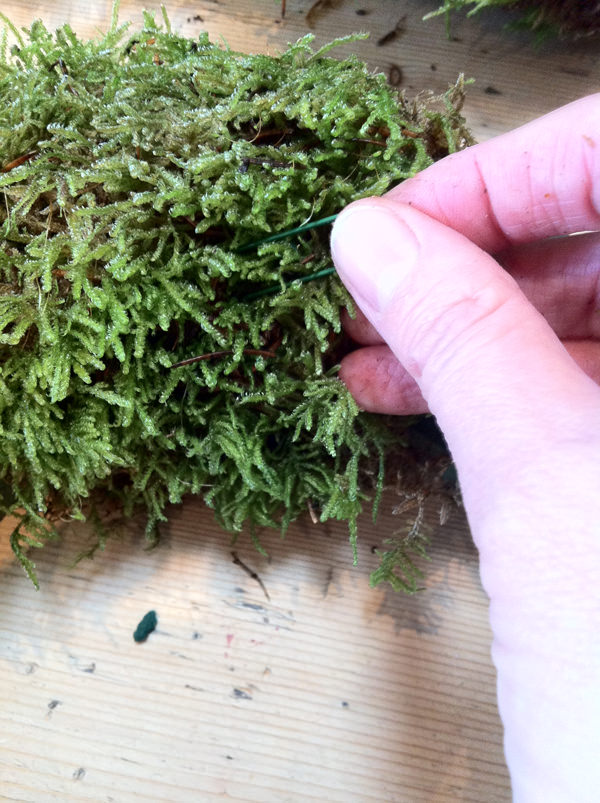
STEP 3) Now make some hair pins by bending the top of your wires and cutting them level.

STEP 4) Pull off strips of moss and using the hair pins, secure the moss to the wreath ring so that it’s nice and snug and won’t come away when you pick up and move the design.
STEP 5) Carry on in this way until the whole of the ring is covered in moss, taking care no foam is showing around the inside edge of the ring.

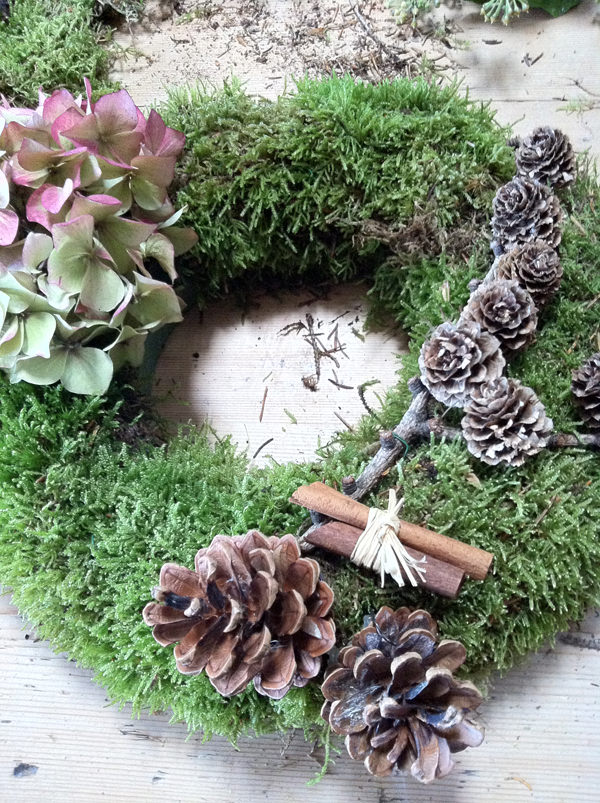
STEP 6) I’ve added a hydrangea head to the design, as I love their gorgeous colour. However, you could add roses or berries such as hypericum in a small area like I have to create a type of ‘corsage’. As materials are really expensive at Christmas, this is a really economical way of introducing some fresh flowers to your design, however, you could add lots more seasonal pretties – especially if you’re thinking of splashing out a bit!

STEP 7) Now start to add some of your decorations. You can secure most things by using either the single or double leg mount method. To do this, make a hook at the top of your wire and then hold it next to the back of the thing you want to attach – say a cone. Then, taking the long end of the wire wrap it tightly around the base of the cone two or three times. If this doesn’t make any sense – fear not. I have a YouTube channel and if you click on the link you’ll be transported as if by magic to a short video which shows you how to create a double leg mount!
STEP 8) Keep working into the design placing opposite textures next to each other – I particularly like the nuts as their shiny texture is great against moss, but they also look a bit like they’ve fallen onto the forest floor. I’m afraid my natural hedonistic tendencies seem to come to the forefront at Christmas so for me it’s definitely a case of more is more but you might well be a bit more restrained than I am, either way keep going until you think you and the design have had enough!
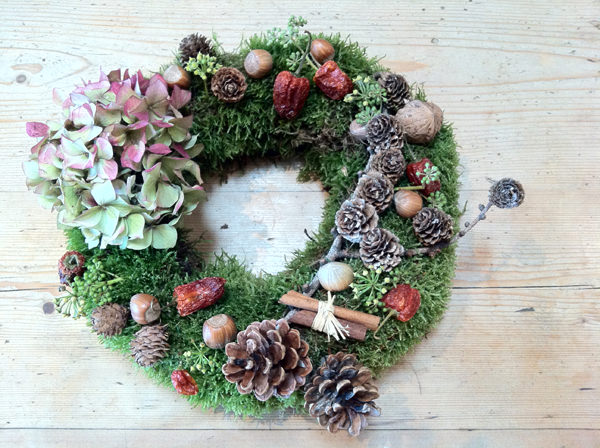
STEP 9) I’ve finished off my design with a sweet vintage style jar and a tea light, but as I mentioned earlier do as you will with yours – just make sure that you place your finished design onto a plate or mat to protect your table if it’s posher than mine!
This design can be made well in advance of Christmas, just water the moss to stop it from drying out every now and then and pull out and replace the floral material as and when needed.
I hope you enjoy getting creative with this design, if you’d like a few more DIY projects, then pop over and take a look at our DIY Tutorials page on the blog or nip over and get yourself onto one of our fab workshops through our Flower School, we’re always delighted to welcome new members to our happy band of regulars!
If you do make a version of this table centre, I’d love to see a photo so email it over to me and Kelly and I will pick and publish our favourite – you never know, you might just win a little something as a prize too! ‘Til then, enjoy.
For more information on Tracey’s work go to
www.campbellsflowers.co.uk
FACEBOOK
TWITTER
Share this post
This site uses Akismet to reduce spam. Learn how your comment data is processed.


Comments