Featured Post

Ask The Experts: Honeymoon in Greece – How Much Does it Cost and How to Save Money
If you want to spend your honeymoon in an idyllic location, you probably wonder how...
2
Oct
2012
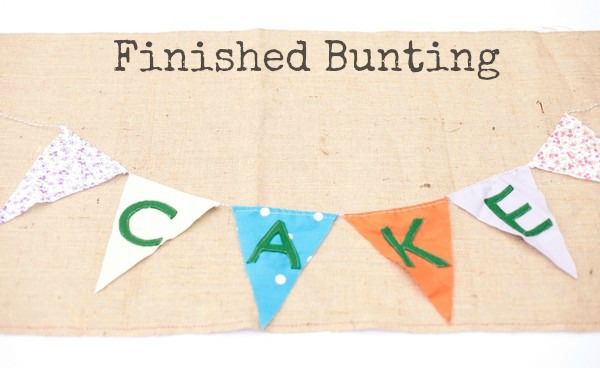
It’s time for another DIY Tutorial and today it’s the turn of Laura from The Mrs Makes. As you will know Laura is a regular to the blog, both with her DIY tutorials and her Diary entries. Today Laura is going to show us how to make DIY Cake Bunting. This bunting can be used for any sort of signage, it doesn’t just have to be for cakes!

Step 1) First create your templates on cardboard – you will need one triangle for the bunting and one of each letter from your word. You can draw these freehand or print from a PC and cut them out.
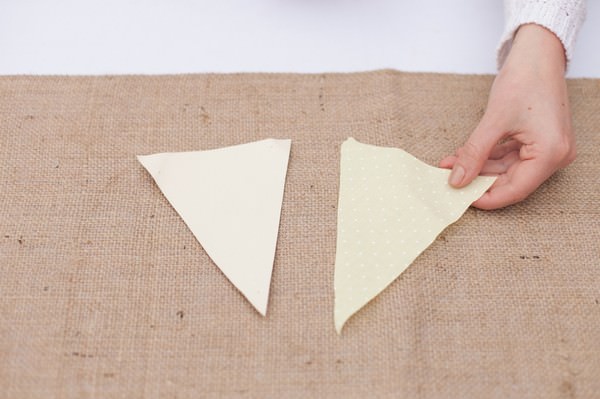
Step 2) Pin the templates to the material and cut out each shape. Pinking shears help fabric fraying, though are not absolutely necessary.


Step 3) Pin your letters to the triangles. Take a moment to view the layout – you may want to arrange the triangles so that the colours coordinate. I also added two blank triangles either side of the word to create more of a statement.


Step 4) Sew each felt letter to the fabric triangle. You can use a sewing machine or do it by hand, whatever you feel most comfortable with.

Step 5) Hem the top of each bunting triangle

Step 6) Thread your string or cord through each triangle in order.


Step 7) Hang your finished bunting

If you want to read more about Laura’s wedding journey and more about her DIY adventures then she has her own blog www.themrsmakes.com
Photography By:
www.jesspetrie.com
[email protected]
TWITTER
LINKEDIN
FLICKR
07581209794
This site uses Akismet to reduce spam. Learn how your comment data is processed.
Comments