Featured Post

Pedro and Orlando’s Modern Villa Wedding in Puerto Rico by Rock and Love Weddings
With England through to the finals of the Euros, it is all celebration in our...
20
Mar
2012
It’s another Tuesday afternoon which means it’s DIY time with my Favourite DIY Queen, Chloe from Adore by Chloe . As you know Chloe is a regular on the Blog and today she is brining another one of her wonderful tutorials.
Today she is showing us how to create Wooden Bunting, so I will pass the Blog over to Chloe to tell is more.
I thought I’d share one of my personal craft projects with you today. I made this wooden bunting to decorate my craft workshops and wedding fair stand but I thought it would be lovely as personalised wedding bunting too!

TOP TIP – Make bunting that says ‘Just Married’ to hang behind the top table? Or have a photo taken with you and your partner holding each end of ‘Thankyou’ to make your cards after the wedding?!
You will need
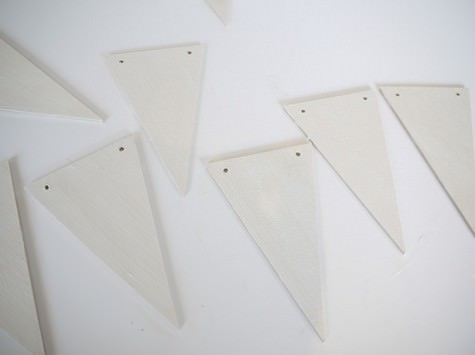
Wooden bunting shapes (from Ebay), poster paint, alphabet craft stamps, ink pad, paint brushes and some string.
How to make it
Paint the bunting shapes with poster paint on both sides to provide a good base for your ink. It does take a few goes as each side needs two coats and to dry in between! I did a few different colours just to mix it up a bit…


Once the paint is totally dry you can then start one of my fave craft techniques, stamping. Choose your rubber stamp letters then add to your acrylic block, dip in the inkpad and press firmly onto the wooden shapes to mark your letters.


Then you just thread onto some string or thin ribbon and enjoy.
TOP TIP – if you are going to use them outside finish them off with a layer of clear varnish to prevent the paint from running!


Thanks for having me over Kelly and do pop over to see me at Adore for more crafty wedding inspiration!
Chloe x
Thanks so much Chloe, please show your apparecaition, I do love her DIY ideas.
For lots more DIY projects and handmade wedding ideas go to:
www.adorebychloe.co.uk
www.adorebychloe.co.uk/adoreblog
FACEBOOK
TWITTER
What a great idea. And looks like fun too. I think I’m going to give this a try. Thanks.