Featured Post

Bridal Style: Finding a Wedding Dress That Complements Your Style
Your wedding day is one of life’s most meaningful milestones, and choosing the perfect wedding...
Your wedding day is one of life’s most meaningful milestones, and choosing the perfect wedding...
30
Sep
2013
By Boho

Happy Monday everyone! How are you all? as I mentioned on Friday the blog will be a tad sporadic over the next few days, as I have had a few days off and still not back to work properly till the middle of the week. So for the next few days the blog will be running on one post a day. I do apologise but this blogger is on prescribed R&R from the doctor so I do hope you understand!
Today’s DIY Tutorial comes from Rachel Thompson who showed us how to make these cute Guest books a few weeks ago. Today Rachel is showing us how to make these cute fabric hearts which can be used as decoration or as presents for your wedding or just as gifts in general.
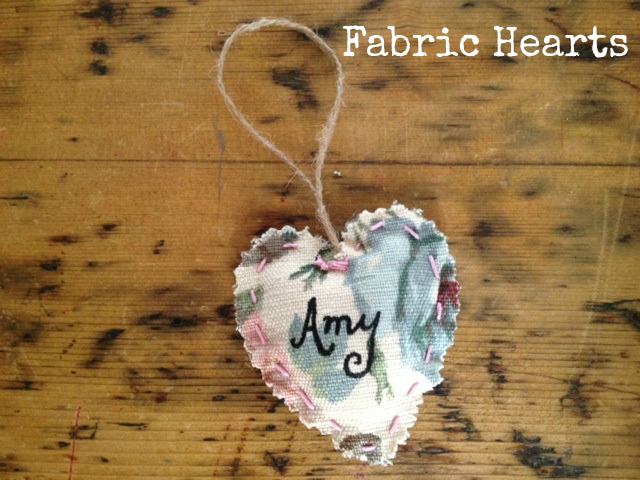
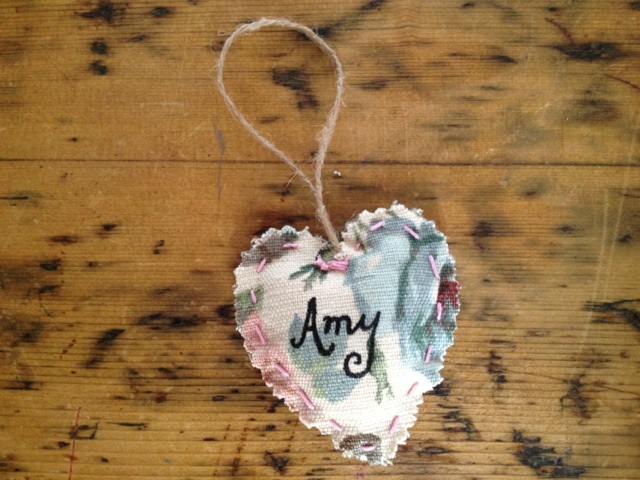
These fabric heart decorations are great for wedding favours, place names, or Bridesmaids presents. These decorations make those little gifts for your guests that extra bit special and are extremely quick and simple to make- you could even enjoy a craft evening with a few friends and make a batch together
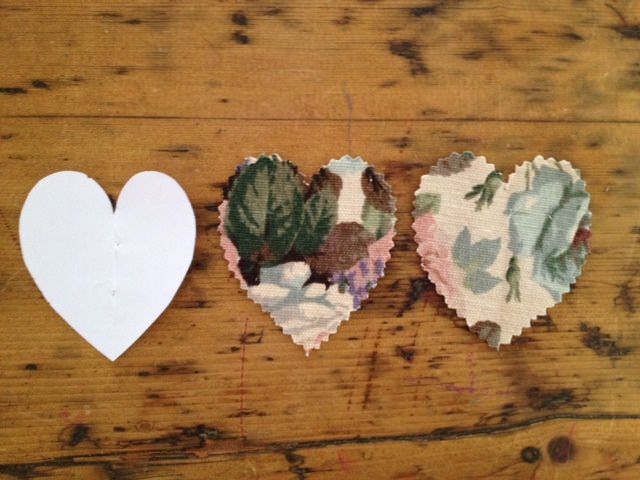
STEP 1) Make your paper template and cut it out. A good tip for finding a nice heart shape is to draw round a heart shaped cookie cutter! Fold your fabric in half and pin your paper heart template on top.

STEP 2) Using pinking sheers, cut around the template.
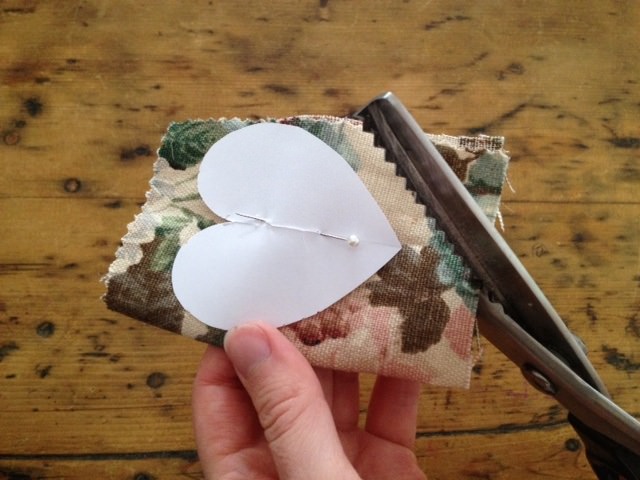
STEP 3) You should end up with two identical fabric hearts
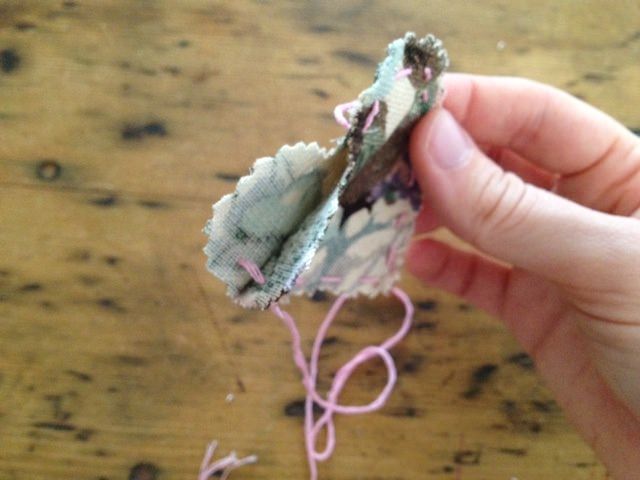
STEP 4) Pin the two fabric hearts together (right sides facing out) and, beginning just beyond the point where the curves meet, begin stitching around the edge using your embroidery thread and needle. A basic running stitch works fine here.


STEP 5) When you get to the second curve of the heart, stop stitching (but don’t cut your thread!) This should leave you with an open ‘pocket’ between the fabric pieces.
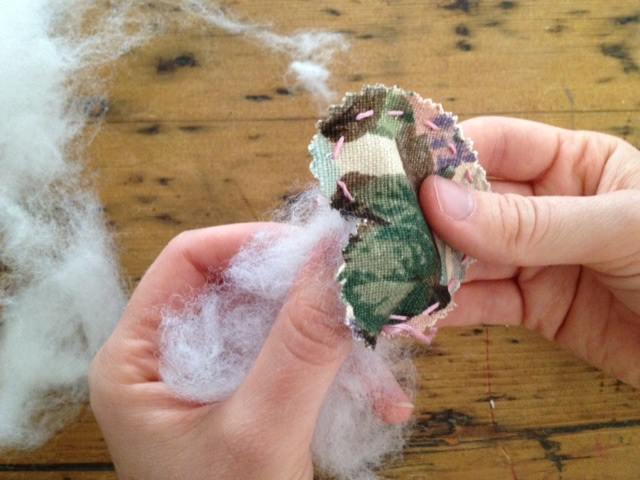
STEP 6) Take a small amount of the soft toy stuffing and push it gently between the hearts, making sure to press into the point and curves as much as possible.
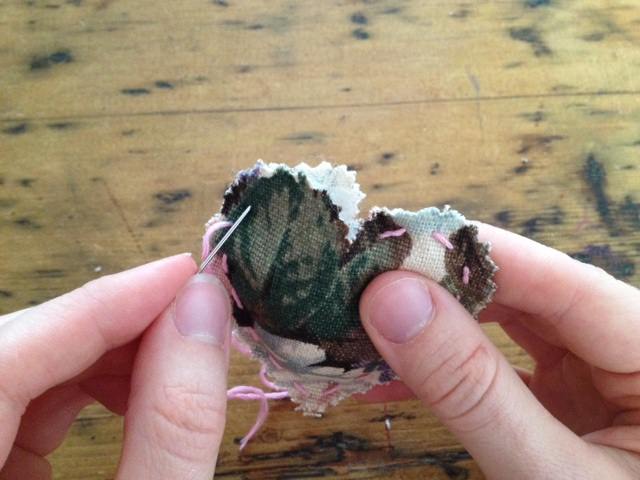
STEP 7) Stitch around the open gap until you just reach the top of the heart. Make sure you leave a little space at the top to put your gardeners twine in
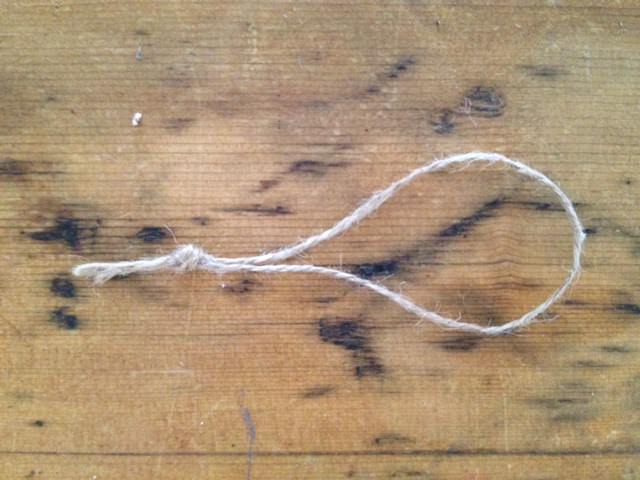
STEP 8) Take a 15-20cm length of gardeners twine (or stick with more embroidery thread if you prefer) and tie the ends in a simple knot
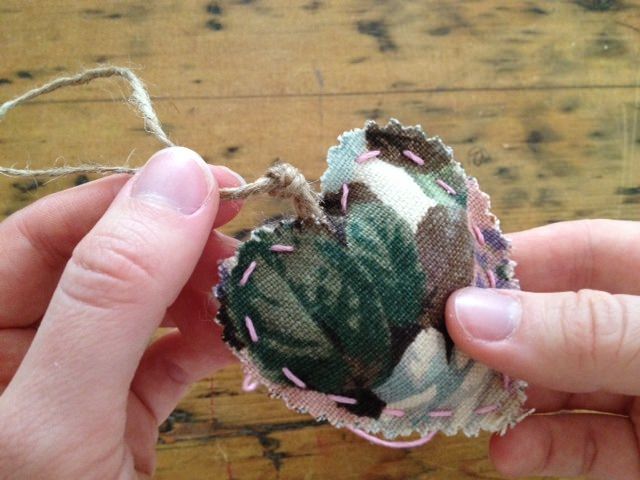
STEP 9) Push the knotted end of the twine into the small gap between the fabric hearts and hold in place. Stitch the last small gap closed, making sure the twine is secured in place and doesn’t fall out when you pull it!
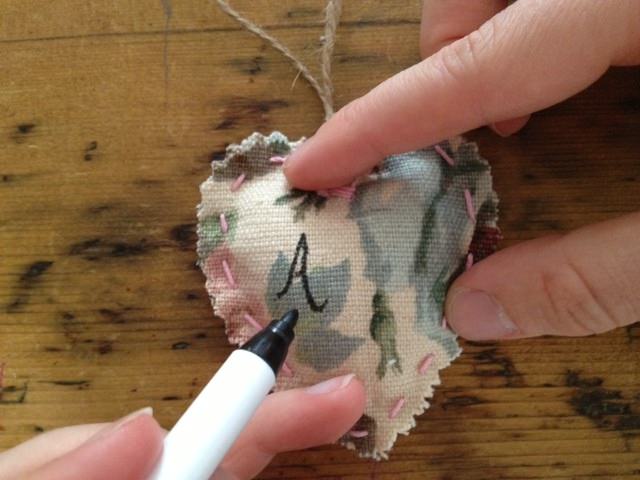
STEP 10) Take a fabric pen (available at most haberdasheries or craft shops) and write the name of your wedding guest across the fabric. If your decorations are gifts instead of place names you may prefer to write ‘Love’ or whatever else you like!
These decorations are really versatile and you could use a whole range of different fabrics depending on what your wedding colour scheme is. Just make sure the fabric is relatively thick as lighter chiffons or satins will fray at the edges.
www.rachelthompsondesign.co.uk
www.facebook.com/RachelThompsonDesign
https://www.etsy.com/uk/shop/RachelTDesign
[email protected]
Share this post


This site uses Akismet to reduce spam. Learn how your comment data is processed.


Comments