
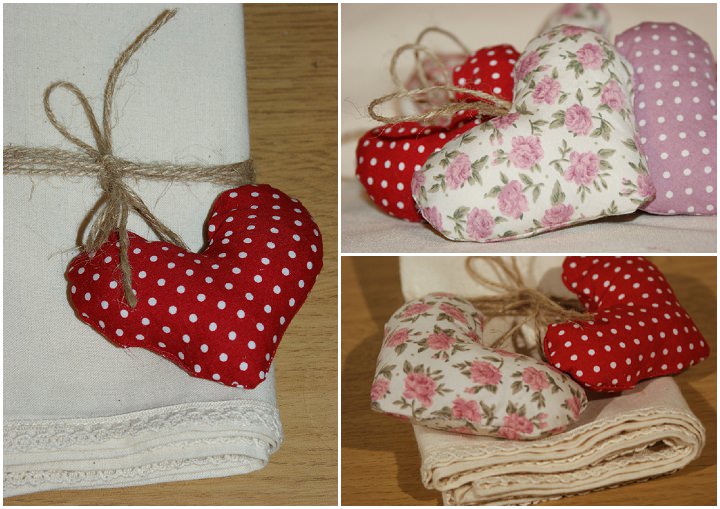
Today I am carrying on the valentines theme from last week where we showed you how to make these FREE Printable DIY Valentines Cards from download and print. Today I have more of a valentines gift idea from Emily Carlill from Love me Sew. Emily is a regular to the blog and always comes up with super cute ideas for you. This tutorial is great as a valentines gift or for your wedding. These lavender love hearts can be given away as a cute present or as wedding favours, or even used to decorate your wedding venue. They are super cheap to make and pretty easy as well.


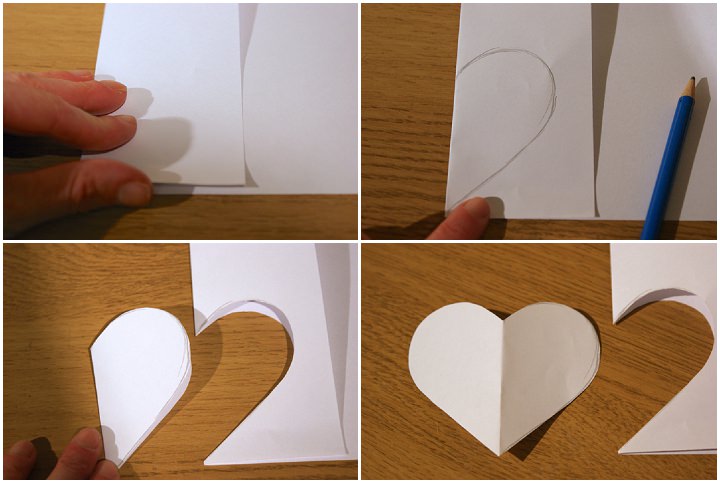
STEP 1) Make your template
- Fold your piece of paper in half and, from the centre fold, draw half a heart shape of the size you prefer. Cut out your shape with the paper still folded – this way you get a heart shape with symmetrical sides.

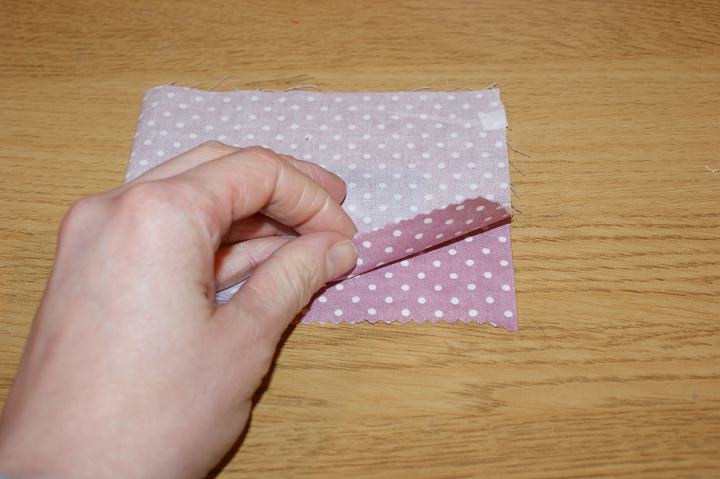
STEP 2) Cut your fabric
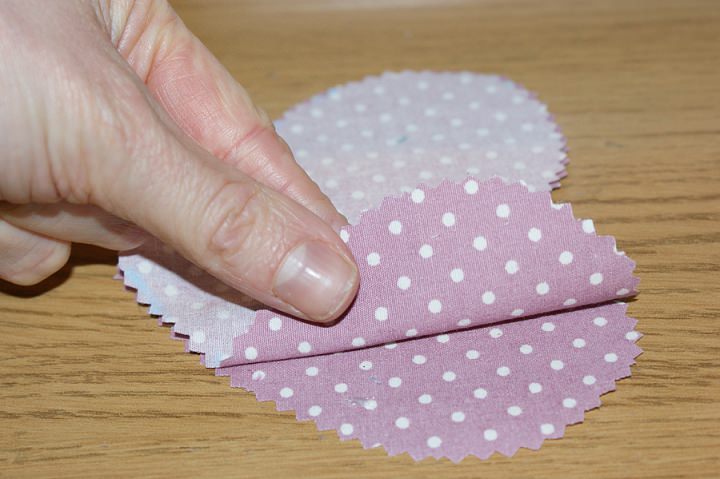
- Fold your fabric in half, right sides (patterned sides) together
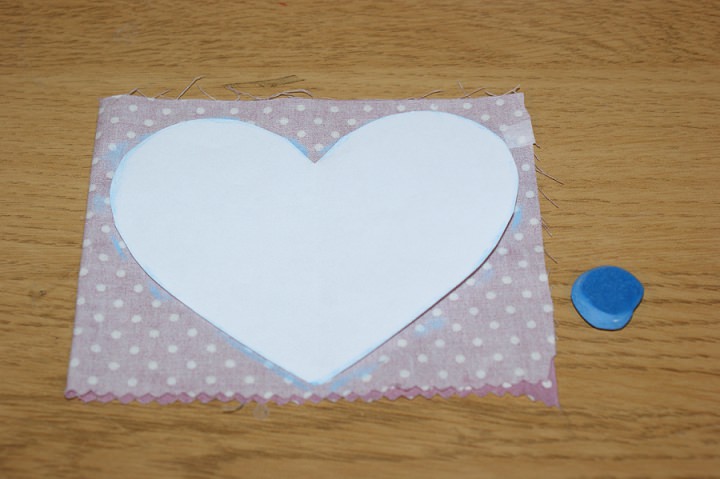
- Place your heart template onto the fabric and draw around using a piece of tailor’s chalk
- Remove the template, pop a pin in the fabric to hold the two sides together and cut out the two sides of your heart.

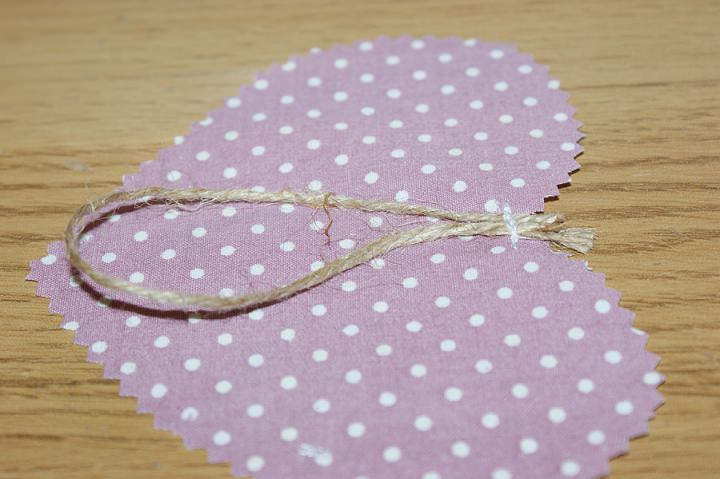
STEP 3) Attach the twine loop
- In this tutorial, I have used twine but ribbon looks equally as nice. Cut a piece of twine to as long as, when folded, you want your loop to be. For this tutorial, my twine was 20cm long.
- Fold the twine to form a loop and pin to the top of the right side (patterned side) of one piece of fabric heart. The loop needs to be facing towards the centre of the fabric with the cut ends poking out the top by about 1cm.
- Secure the loop with a couple of stitches
STEP 4) Sew the heart together
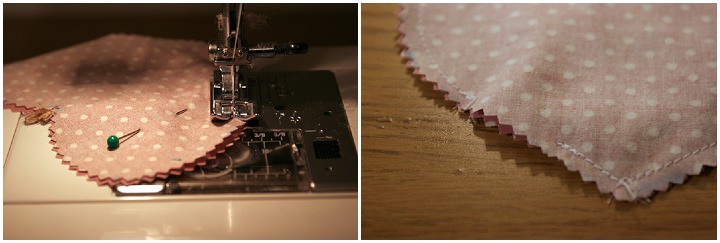
- With right sides together, pin one piece of heart fabric to the other, sandwiching your twine loop. Pin
- Using 0.5cm seam allowance, starting from the point of the heart, sew around the heart, leaving a gap of about 2cm in one of the long sides – stay stitch (stitching forward and back a couple of stitches) at the start, end, and either side of the gap to secure the stitches
- Notch (small V cuts) the curved part of the heart – make sure you don’t cut over your line of stitches! This will give the fabric space to move around the curves.
- Turn the heart the right way out and press (ensuring the open seams of the gap are pushed inwards)
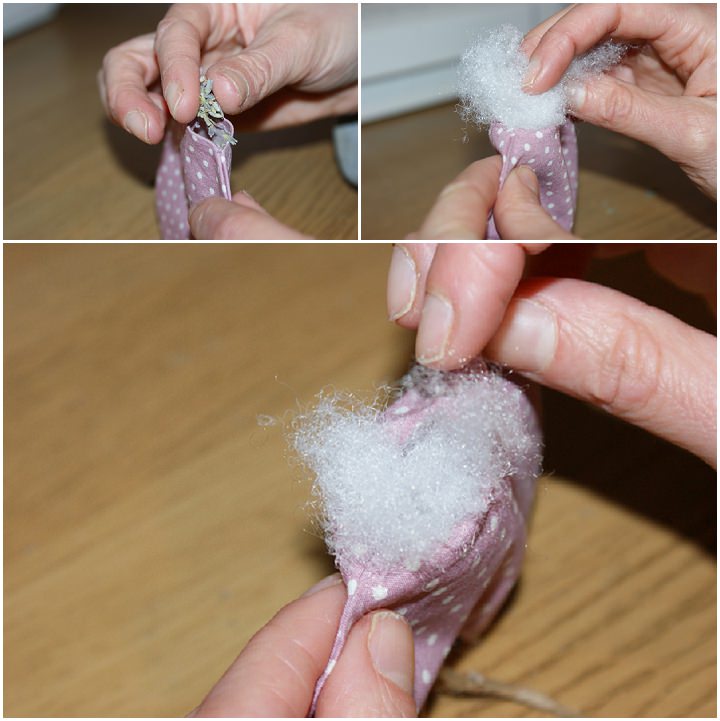
STEP 5) Stuff and finish the heart.
- Drop a few pinches of dried lavender through the opening and stuff the rest of the heart with the wadding or stuffing.

- Hand sew the opening closed
And you’re done! Lots of lovely hearts ready for you to use!

For more information on Emily’s DIY ideas go to
www.lovemesew.co.uk
http://blog.lovemesew.co.uk/
Facebook
@LoveMeSew
After crafting her own DIY wedding in 2011, Emily Carlill now continues to make lots of items for other people’s weddings. She also makes up one half of Love Me Sew, a crafty business selling fabric, craft packs and running workshops (including DIY wedding workshops and crafty hen dos) with business partner Sam Lowe.

Other things you may love...


Great idea! Thanks for the detailed step by step!