Featured Post

‘Marriage in Colour’ Bright and Bold Wedding Inspiration From France
I have been featuring a lot of colour on the blog over the past few...
2
Feb
2015

Good Afternoon to you all. Can you believe it is February already? Where on earth did January go? I am really pleased that February is upon us as I have a super fun packed month ahead. The first two weeks of February I am manically catching up on all wedding work as much of January was spent doing the tax returns. Boo. February I have lots of lovely plans including, school holidays, planning a styled shoot (styled around a Bohemian theme), my first wedding of the year on Saturday.
Today I am pleased to bring back our weekly DIY feature. Today it’s form one of our lovely Boho readers, the lovely Sarah from You Me Venues has shared with us this great step by step DIY post on how to make a Tassel Garland. It looks super easy to follow and would look great at any wedding venue or ceremony.


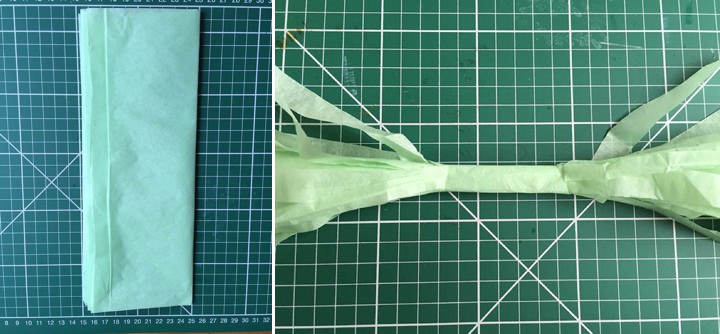
STEP 1) Take a sheet of paper and cut it in half. Take one half and fold it in half, then again, then again as shown.

STEP 2) Make your first cut next to the fold, then continue cutting strips towards the fold at 1-2cm gaps (whichever your preference). Making sure you leave about a 1 inch gap uncut at the top.

STEP 3) Carefully unfold the paper and lay it out so all the fringes are straight. Start to carefully roll the paper from one end to the other. This takes a little patience to make sure you keep straightening out the fringes of paper.

STEP 4) Twist the uncut centre of the tassel, then again to create a loop. You can secure with tape or glue if you wish but it shouldn’t be necessary.

STEP 5) Thread onto string.

STEP 6) Continue to make more tassels of varying colours. You can use patterned tissue and foil paper too, all work really well.

This is exactly what I’ve been searching for previously. Although I’m pretty lost following the pictures.