Featured Post

Boho Pins: The Best of Boho – My Top 10 Terracotta Weddings
Terracotta as a wedding theme is HUGE! With the growth of Boho, terracotta has been...
3
Apr
2012
A few weeks ago I introduced you to one of my lovely Brides Laura who was new to the Diary of a Boho Bride feature. You can read all about Laura’s wedding plans HERE . In Laura’s’ introduction I explained that she is a BIG fan of the old DIY and after a few emails and a few sneaky pictures of stuff she had already created, it was clear that she was an even bigger fan of DIY than I first thought. With this in mind I asked is she fancied putting a few posts together for the Blog and she quite happily agreed.
So a few weeks ago Laura came armed with a whole host of goodies to my house and we were joined by Jess from Jess Petrie photography who documented the whole thing. (she also took some rather cute pictures fo Dee) We had a great time and I then got to see a few more secret projects that Laura has planned.
So here is the first fo Laura’s DIY tutorials, and for me the best one……….and yes she made all of those paper cranes herself, and threaded them altogether! I have no idea how she had the patience but it looks amazing!
I’ll pass the Blog over to Laura
What you will need
• 1000 pieces of square paper. They can be any size and any colour you like. Most origami paper is coloured differently on each side to help you keep track of your folding. My pieces were 2cmx2cm.
• Thread and needles
• Spacer beads
Instructions
• Begin with your square of paper. Fold it in half diagonally to make a triangle, again to make a smaller triangle, and again to an even smaller one.
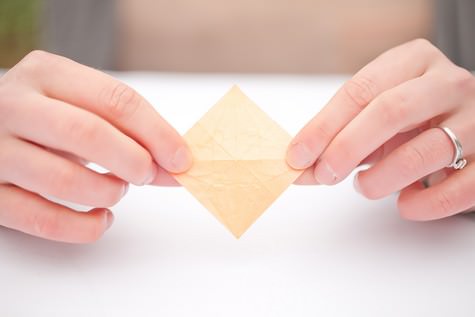
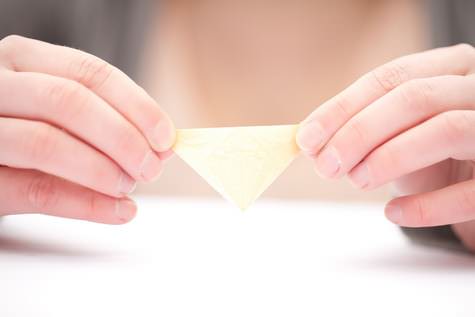
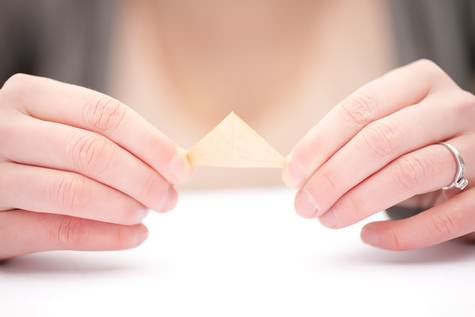
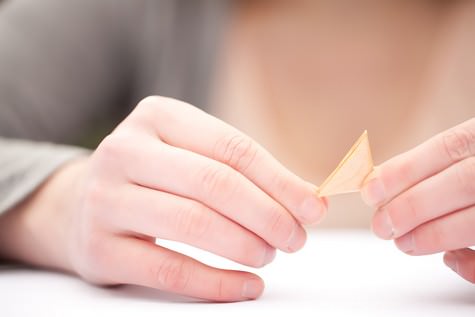
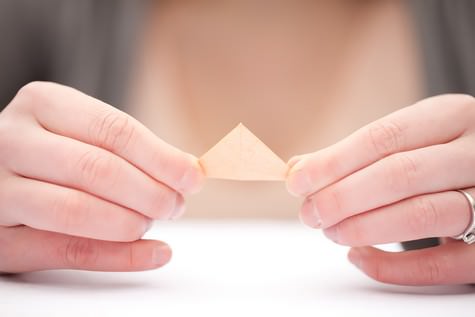
• Unfold your last triangle and lift the back and front flaps up to flatten the triangle out into a square.
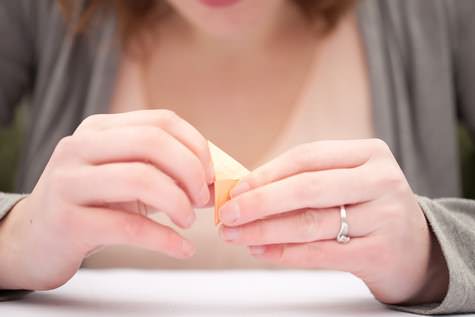
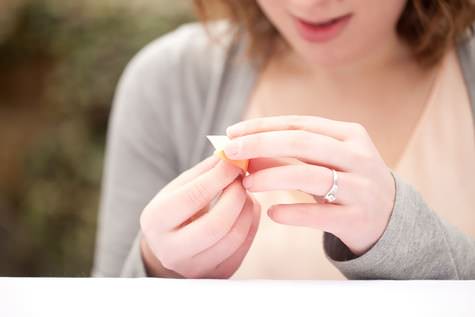 • Fold the bottom sides on the font into the middle line, and repeat on the back.
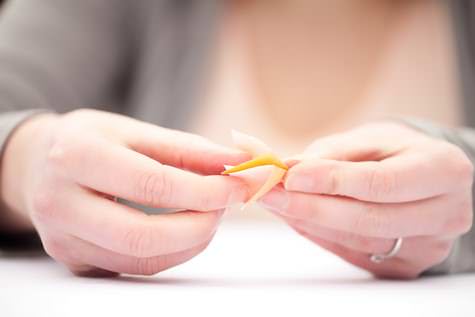
• Fold the top over to each side to make a crease line.
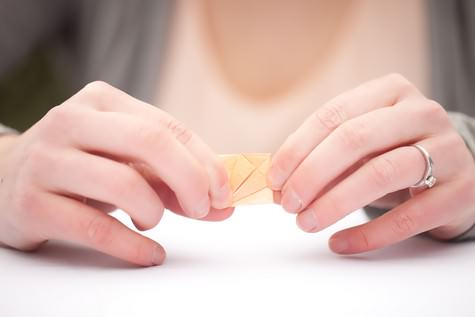
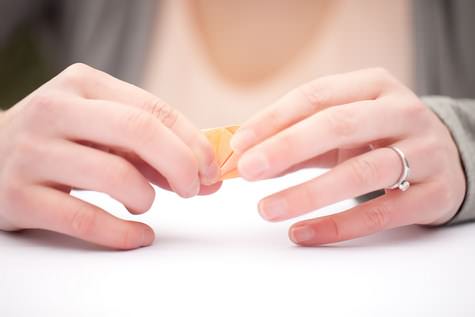
• Open the bottom folds from the centre, and lift the bottom point. Flatten along the creases.

• Repeat at the back.
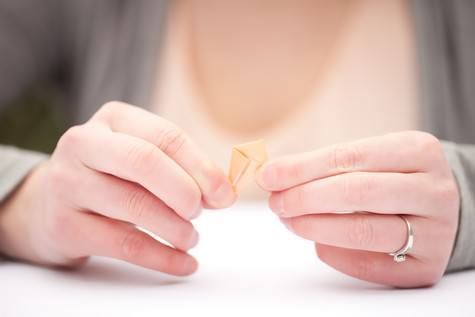
• Fold the bottom sides into the centre line on the front and back.
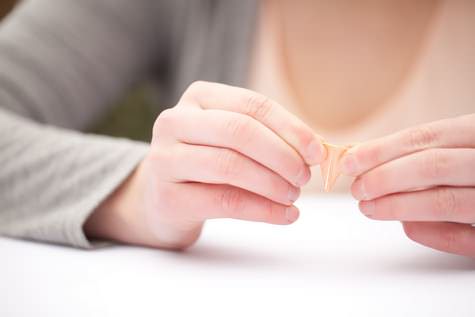
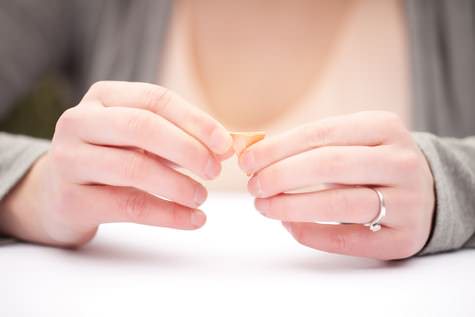
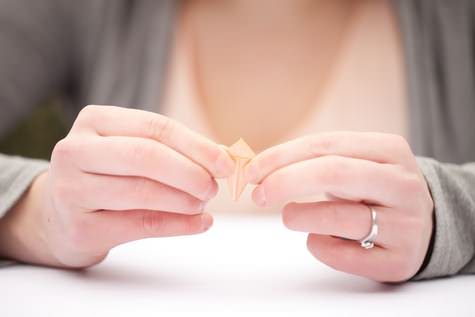
• Fold both sides in half, so that you are left with a flattened diamond with no creases or open edges.
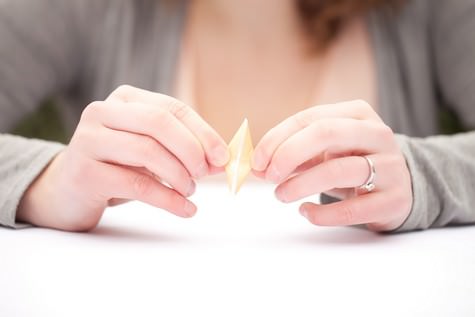
• Lift the bottom points up to meet the top points and crease.
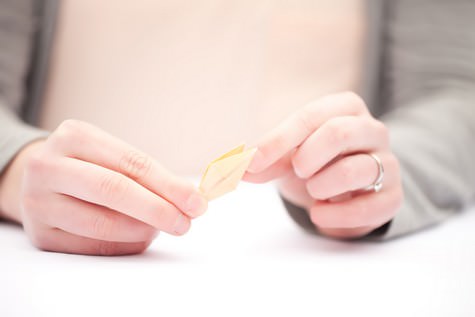
• Open the sides back up, trapping the folded points inside.
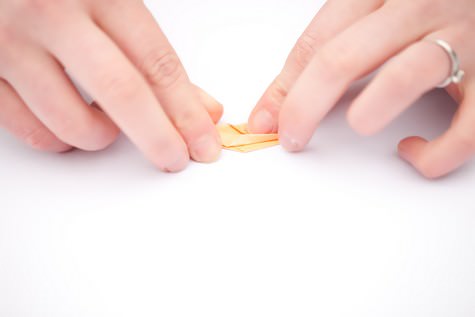
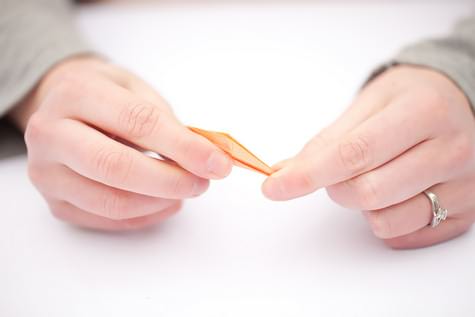
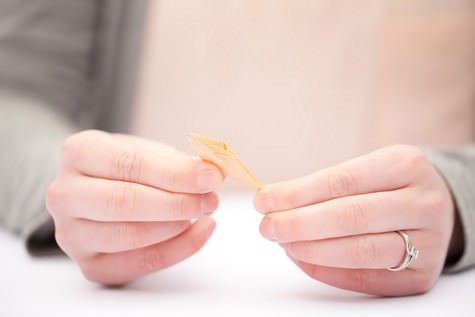
• Gently pull the wings to expand the body.
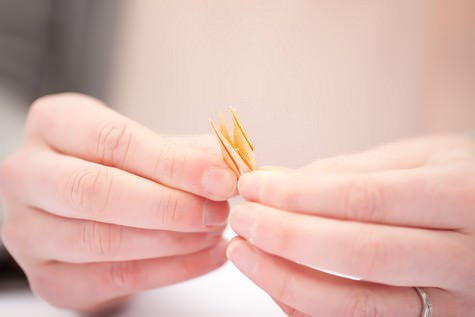
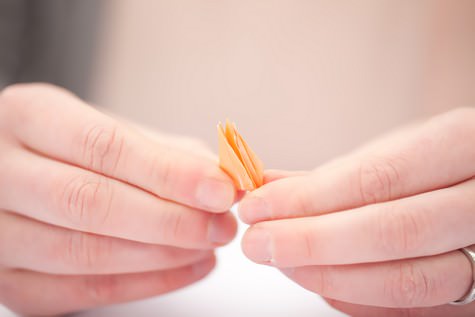
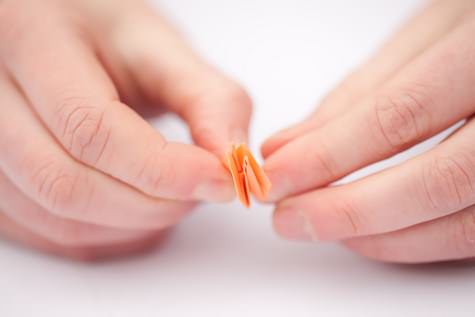
• Congratulations! You now have one crane!
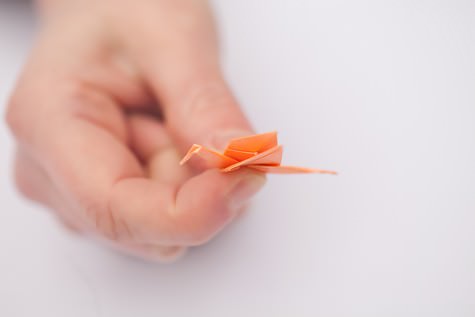
• When you have completed the folding (or you can string them as you go along), thread them onto cotton using a needle and thread through the body, and using spacer beads to keep them from stacking on top of one another.
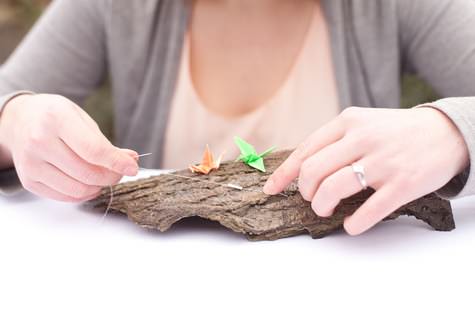
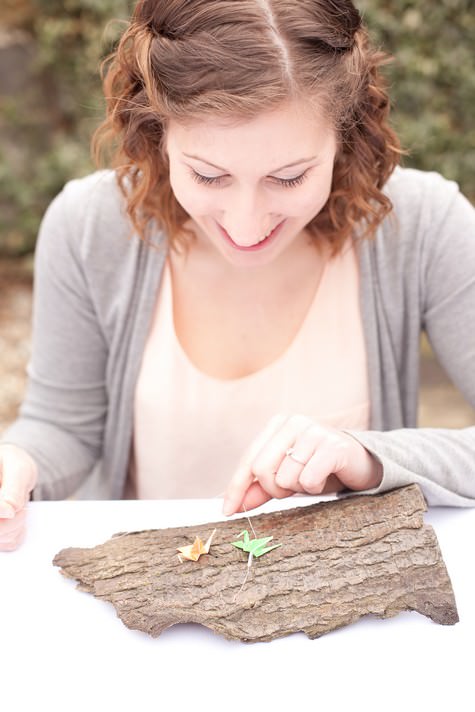
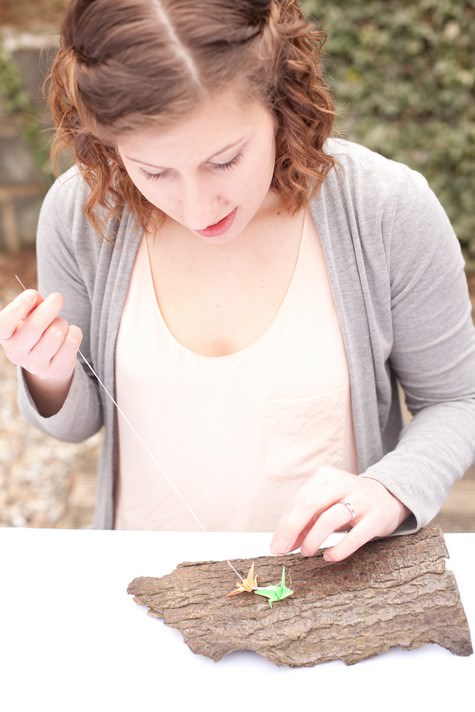
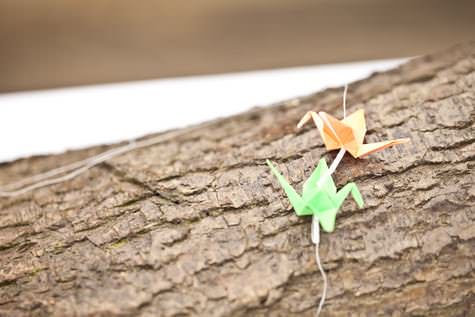
• You can hang them all together, or on individual strings wherever you please.
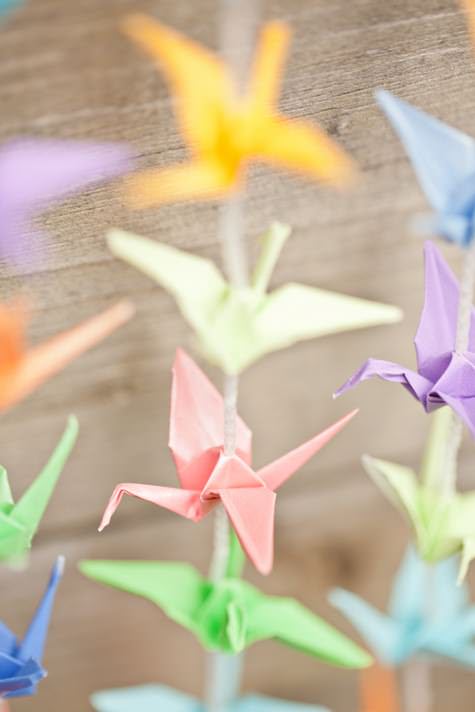
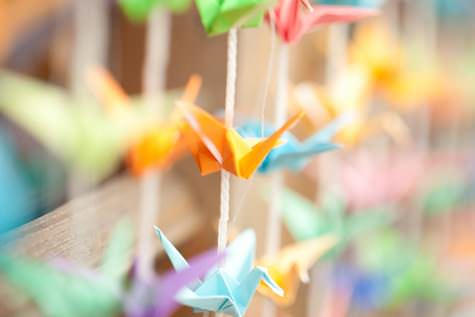
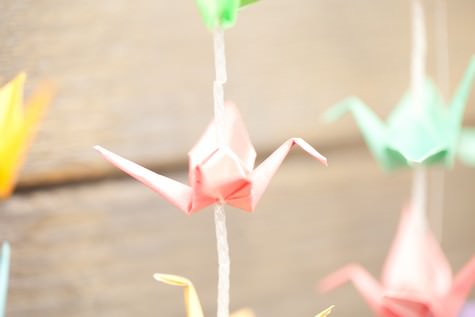
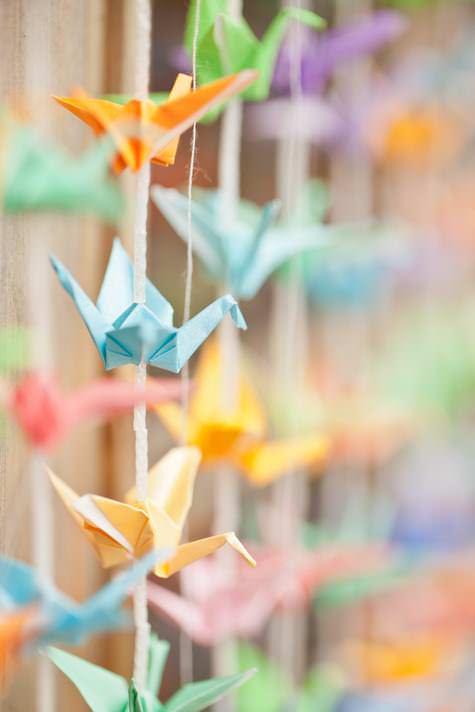
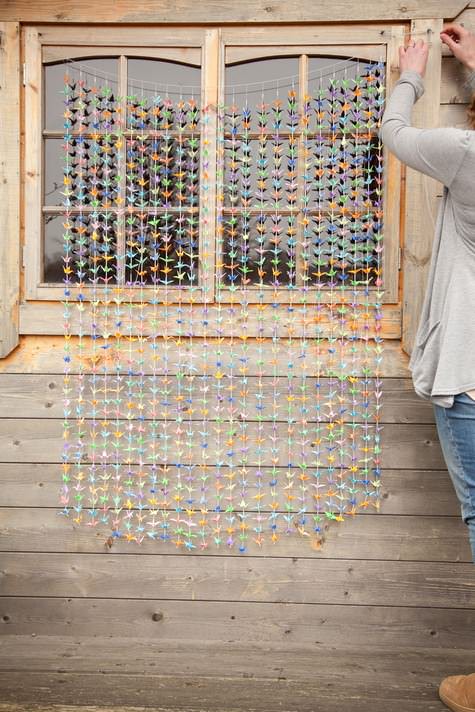
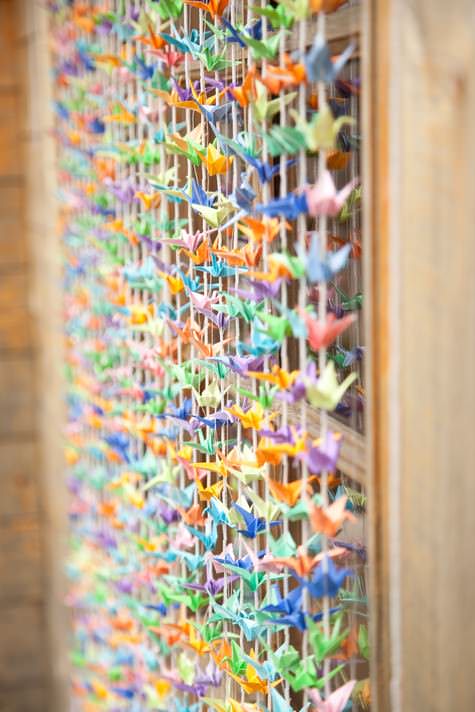
I’m sure you will agree these are just amazing! I really do admore Luara for working so hard on these. the backdrop is going to be used during their outdoor ceremony! which is going to looks sooooo pretty! I can not wait!
More from Laura tomorrow as she talks about finding her dream venue!
For information on Jess’s Photography work go to:
www.jesspetrie.com
[email protected]
TWITTER
LINKEDIN
FLICKR
07581209794
Absolutely stunning…. but I know I lack the attention span to do this project. I would have outsourced production to children with the promise of playstation games, money and such like!
Thank you Amma! I think I sat and did most of them on train journeys and whilst watching entire seasons of Dexter. The beautiful story of 1000 paper cranes includes the thought that if a bride folds them for her wedding, she will carry this patience to her marriage and bring with it happiness, luck and prosperity.
I love this! I currently in the process folding 1000 cranes myself. Do you have any suggestions about how to transport the cranes/ I’m trying to figure out how to get them from my house to the reception hall without it getting totally tangled.
This looks fabulous!! What a great wedding project (even if a little patience is required!) and lovely to see the process captured in pictures too!
OMG! A dream of mine to accomplish! How long did this take?!?
It took me about 3 months of afternoons, evening and weekends folding… I think I am blessed with very flexible work so I could do a few whenever I liked. Realistically, I would give yourself double this.!
you can get times down a lot with focused bursts and some experimentation. I started combining steps and got my time down to 13s per crane.
Wow!! Love them : ) such a cool idea
Laura, this is such a beautiful project – I am in paper crane awe! x
Thank you for all your nice comments – they are currently taking pride of place over my bed until the big day! Look amazing on my white wall. x
This looks a-maze-ing!!
Can I just check the size of the paper squares you used – were these 2in by 2 in rather than 2cm by 2cm?? They’d be super fiddly if they’re 2 cm??
Can’t wait to have a go at these :-)
2″ x 2″ is a great size
Amy – they were 2cm by 2cm for sure. Very small though it doesn’t matter what size you use as long as they are square :) x
INCREDIBLE!!!! Would love to see our clients do this one. :)
hi laura! what a beautiful backdrop with such a sweet sentiment. my fiancee and plan to use 1000 paper cranes in our wedding as well – how did you hang your strings of cranes from the horizontal line? did you tie them to the string or did you attach them in a different way? Also, did you weigh them down for your wedding day? I’m so worried our strings will blow and tangle. Any advice you can give would be great – beautiful, beautiful work!
Greetings I am so grateful I found your blog page, I
really found you by mistake, while I was browsing on Askjeeve for something else, Regardless I am here now and would just like to say many thanks for a marvelous post
and a all round thrilling blog (I also love the theme/design), I don’t have time to look over it all at the minute but I have bookmarked it and also included your RSS feeds, so when I have time I will be back to read more, Please do keep up the fantastic job.
Hello
I was wondering where you purchased your paper from. I am having trouble finding mini oragami paper in those colours. Thanks
Y’all can find the origami paper on ebay. Laura, where did you buy the spacer bead? Did y’all know the story behind 1000 cranes? The Japanese believe it will grant you a wish, in fact, it is given as a gift from a father to the bride or a mother to her new born for wish of forever happiness :) (Wikipedia)
Laura,
I don’t know where to begin but I’ll start by saying you have tremendous patientence to make all those teeny tiny cranes. They’re absolutely breathtaking not to mention the beautiful story behind the 1000 cranes! I’ve never heard the story about the 1000 cranes but now that I have I will never forget it. I wish you many many years of happiness in your marriage bcz I know you have the patienece it takes to make a good marriage. Thank you for sharing this DIY project with us :)
Your project turned out beautifully – love the colors you used! My fiancé and I are working on the last of our cranes right now and trying to figure out how to string them has been difficult. Where did you find the beads you used? Everything I’ve found has either been too short or too heavy. Thanks!
OMG!! This is so nice!
Wow, I love this,this is what I am in the process in making for the back drop for one of our photo areas with some for the guests to takeaway with them, so great to see this as to how it would look! Love it, stunning Laura!
I’m making my own and was wondering where you can get the spacer beads. Please advise when you can.
WOW! Impressive photos! Thanks for sharing it!
Some great photos! Congratulations!
Now repeat x 1000……….. this got me
IF you have kids in your family – they can help you – it could be fun
Have you tried our fabulous wedding directory?
discover more