Featured Post

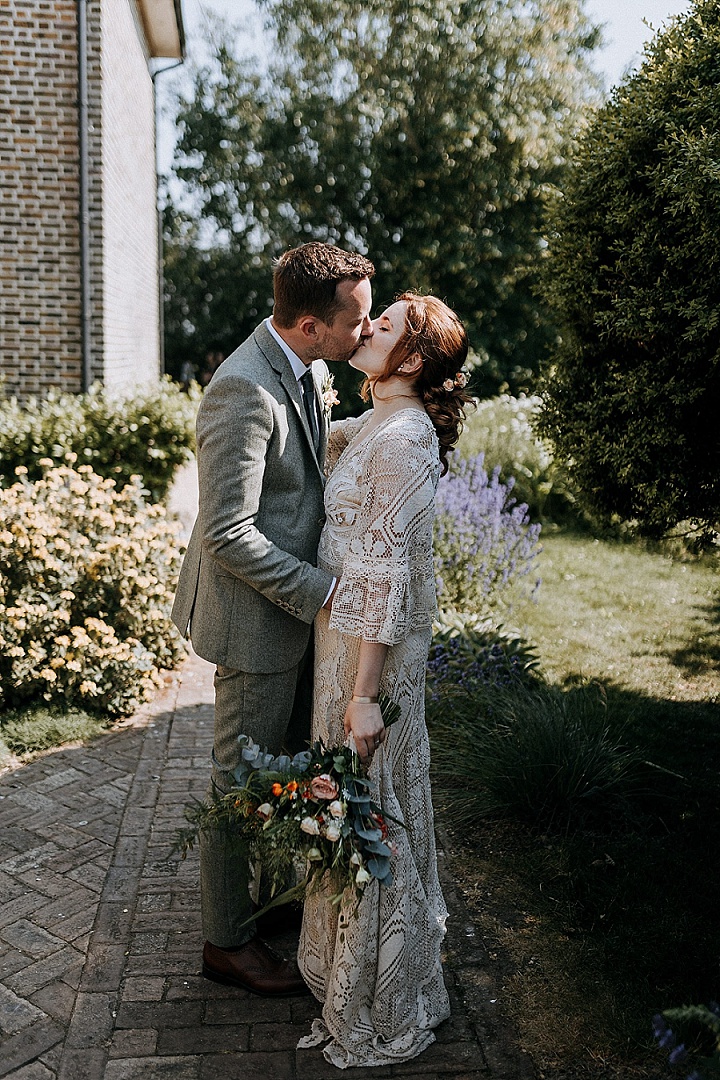
James and Sophie’s ‘Low Waste’ Nature Loving Kent Wedding by Chris Blackledge Photography
Today I have another fabulous wedding from Chris Blackledge Photography who is becoming quite the regular...
22
Nov
2011
Today I have a piece of DIY inspiration for you in the form of this cute DIY tutorial courtesy of Handmade Weddings . Handmade weddings is a book jam-packed with loads of ideas and inspiration for your wedding day, along with lots of step by step guides and some great photos.
I have chosen one of these tutorials for you, so today we are going to lean how to make corrugated napkin rings with matching vase and tea light holders.

What the writers Laura Maffeo and Colleen Mullaney say ‘Corrugated papers lend an understated style to your table settings—the perfect casual look for the modern bride who wants to express her own one-ofa-kind point of view. The natural white and soft brown shades of the papers tie in beautifully with an assortment of dried flowers and stems to create, dramatic, earthy style. Simple flowers like calla lilies work nicely, too. Add a dash of color by swapping the natural raffi a tie for a bright cord or ribbon.
Corrugated paper and raffi a come in large rolls, so you will probably have enough to decorate many tables. The tags come in packages of 8 to 50, so be sure to buy the correct amount for your needs.’

Here are the materials you will need to make one corrugated napkin ring place card and to cover one vase and one votive:
• one roll of brown corrugated paper
• one roll of white corrugated paper
• one napkin
• one spool of natural-colored raffi a
• one oval-shaped tag
• one tall, cylindrical glass vase
• one small glass votive
• scissors
• double-stick tape
• tape measure


STEP 1. Cut one 3 1⁄2″ × 8″ (9 × 20.5 cm) piece of brown corrugated paper. Cut one 5″ × 5″ (12.5 × 12.5 cm) piece of white corrugated paper.
STEP 2. Cut a 1 3⁄4″ (4.5 cm)-long slit in the brown paper, 1 1⁄2″ (4 cm) in from each end.
STEP 3. Wrap the white corrugated paper around the middle of the napkin. Then wrap the brown corrugated paper around the center of the white paper.


STEP 4. Slide the two slits together to join the ends of the brown paper.
STEP 5. Wrap the raffi a two or three times around the napkin, leaving a long tail. Cut the strand from the spool, leaving another long tail.
STEP 6. Feed one end of the raffi a strand through a name tag. Tie a knot to secure the tag.

STEP 7. Fray both ends of the raffi a by splitting the fibers of the tails.


STEP 8. Measure the diameter of your vase and votive with a tape measure. Cut out a piece of white paper, as wide as the diameter of the vase, allowing a little extra for overlap at the ends. Cut another piece of white paper, as wide as the diameter of the votive, allowing a little extra for overlap at the ends.
STEP 9. Secure the white paper to the vase with double-sided tape. Secure the white paper to the votive the same way.
STEP 10. Cut out pieces of brown paper as you did for the white paper in step 8, making the pieces slightly narrower than the white paper.
STEP 11. Repeat step 9 with the brown paper.
STEP 12. Wrap the raffi a two or three times around the vase, leaving a long tail. Cut the strand from the spool, leaving another long tail. Tie a knot and then fray the ends as you did in step 7.
So there you go, I hope you found the tutorial helpful? I’m going to try something similar but with some fabric and some lace, I will post up my efforts once I’ve done it, I have a few bits and bobs to make for the office.
For can find more ideas and tutorials in this book Handmade Weddings written by Laura Maffeo and Colleen Mullaney.

(This is not a sponsored post)
Great for an understated but elegant wedding.