Featured Post
Ask The Experts: Incorporating Wellness Into Your Wedding Journey: 5 Power Foods for Brides and Grooms
So you’re about to get hitched? We all know wedding prep is a marathon, not...
So you’re about to get hitched? We all know wedding prep is a marathon, not...
26
Jan
2015
By Boho

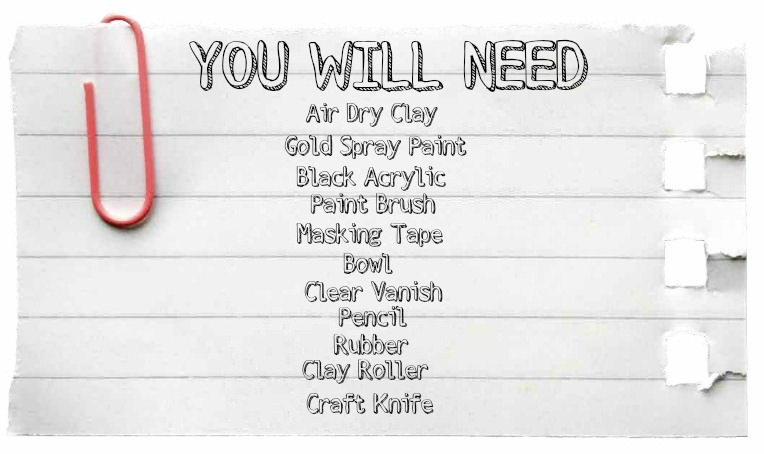
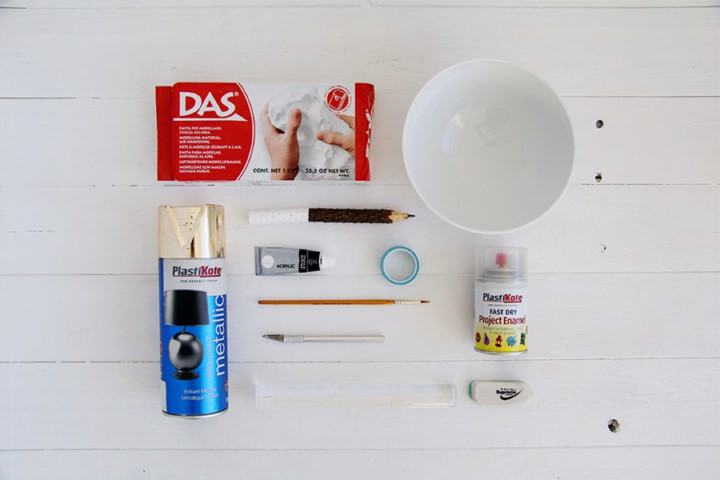
Good Afternoon to you all. I hope you had a lovely weekend and are enjoying the last week of January. Today I am happy to bring you this lovely DIY post from Francesca Stone from Handmake Me. It’s a lovely tutorial showing you how to make a super cute ring dish and it looks really easy to follow. You don’t have to use these just for wedidngs, as I’m sure they would look lovely in any house!
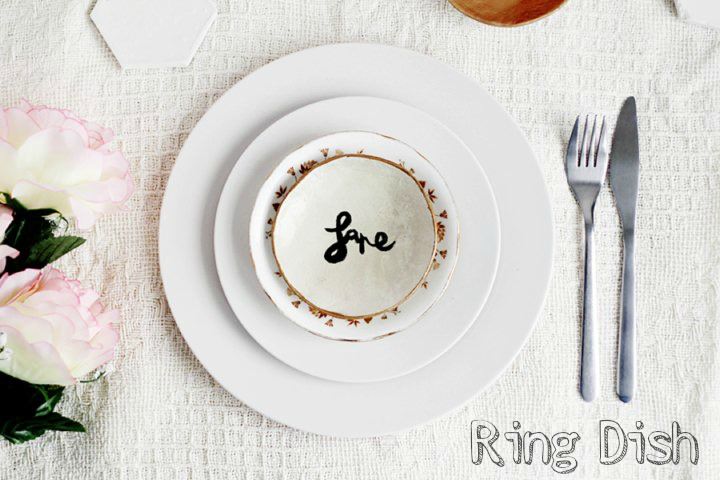
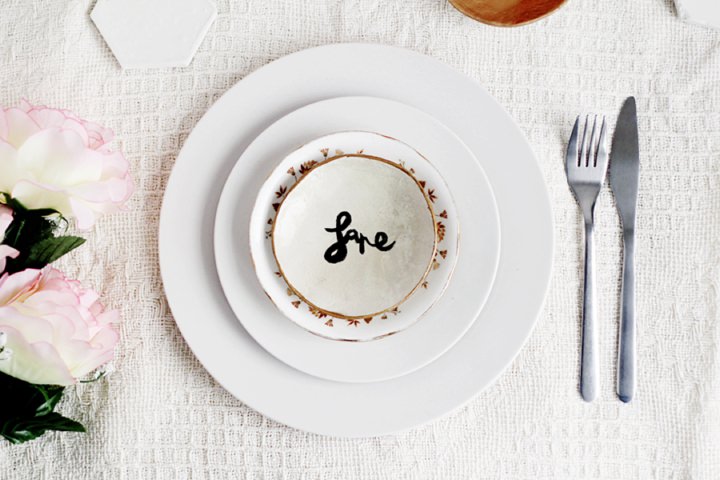
It’s the added extras that make your wedding so special. It’s a day to put together the finishing touches that you will only do once in your lifetime.
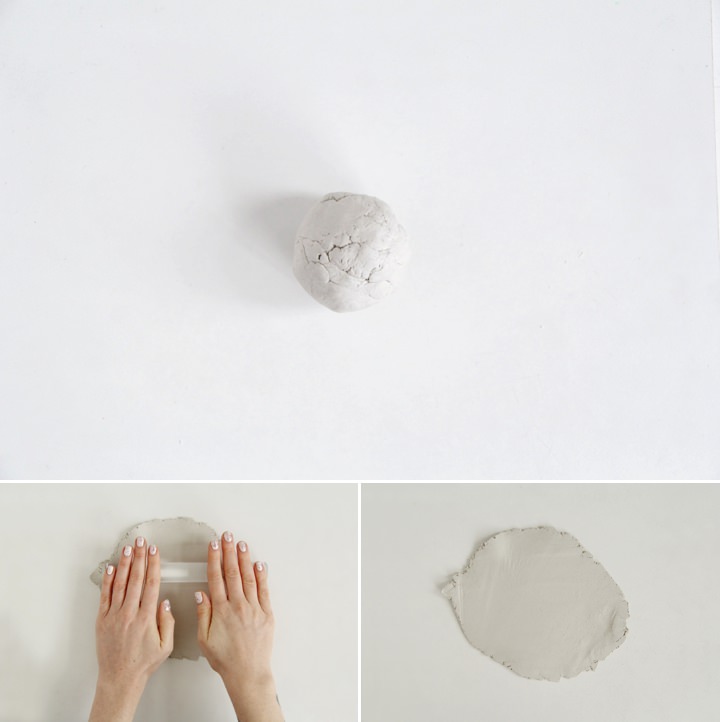
STEP 1) Take a ball of clay and using wet hands add moisture until it is soft and easily workable
STEP 2) Roll out flat. If you’re going to be making a lot of these it could be worth investing in a cheap pasta roller for about £20.
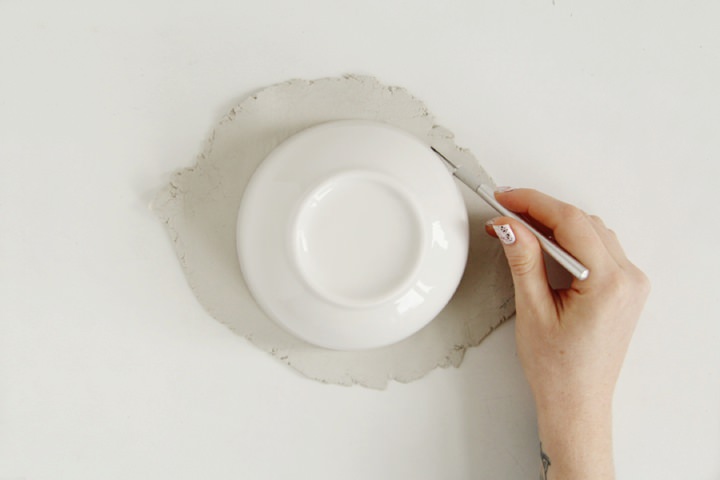
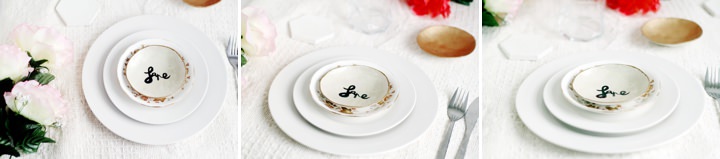
STEP 3) To make this size ring dish you will need a circular object around 3 – 4 inches in diameter. I’ve used a small bowl. Place over the clay and carefully cut around the circle with a craft knife.

STEP 4) Using water and your fingers smooth out any cracks or bumps on both sides of the clay.
STEP 5) Carefully place into a large bowl, pressing down to ensure the middle of the clay is touching the bottom of the bowl. You want the dish to be slightly curved so that the clay doesn’t fold over onto itself too much. If it is folding then you’ll need a smaller circle of clay or a larger bowl.
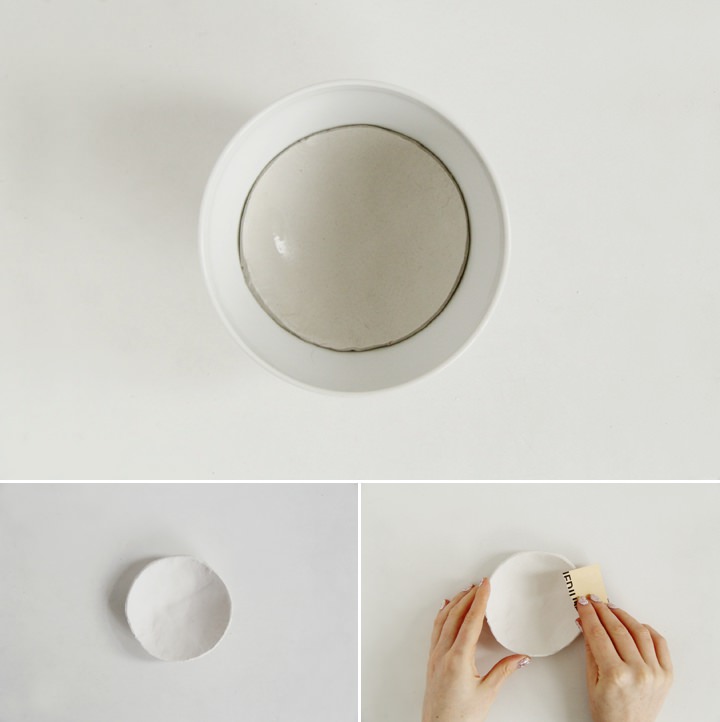
STEP 6) Smooth the clay down in the bowl and leave to dry for at least 24 hours. You can use this time to practice your handwriting for each person’s name
STEP 7) Once the clay is hard remove from the bowl. Sand the edges to make them smooth
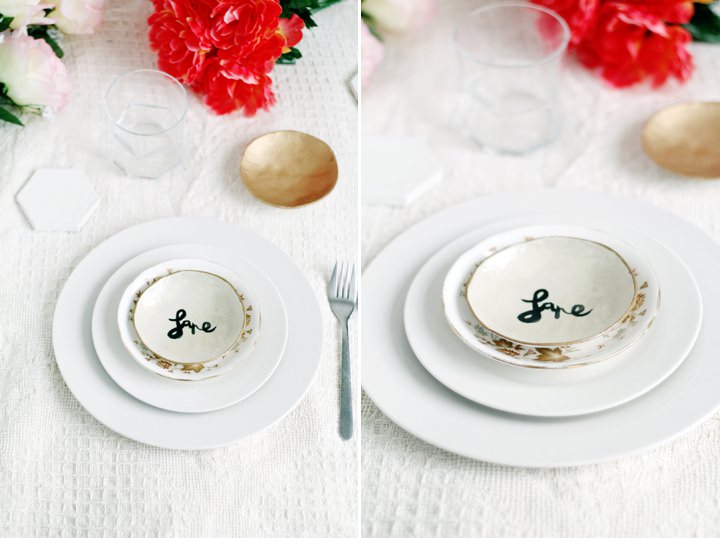
STEP 8) Pencil draw the name onto the middle of the bowl. Try to find examples of handwriting you like and emulate that style
STEP 9) Once you’re happy with the text, paint over with black acrylic. Hold the paintbrush further from the tip than you would usually to create a fluid line. If you make a mistake sand off and start again

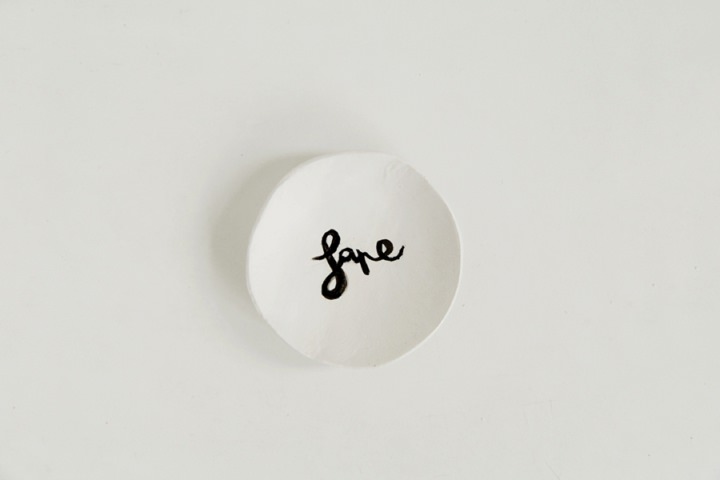
STEP 10) Once you’re happy with the lettering leave to dry so you don’t accidentally smudge it
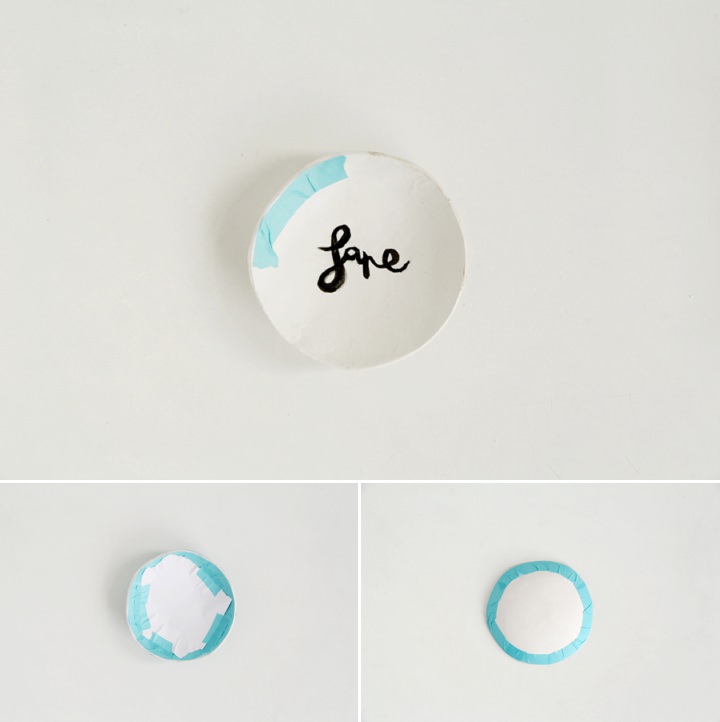
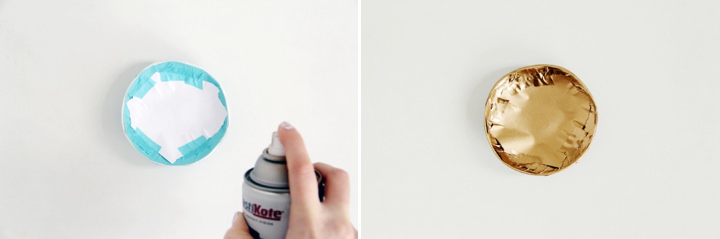
STEP 11) Tape off the whole dish apart from the rim and spray gold

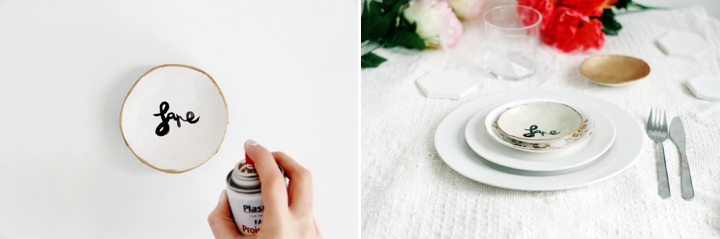
STEP 12) Once dry peel off the tape and and cover with varnish
 If you’re planning on making a lot of these I would recommend completing them in stages. For example, make four at a time and work on the same steps on each to maximise working time.
If you’re looking for more DIY ideas for your wedding you can also find Francesca on he own personal blog ‘Fall For DIY’ www.fallfordiy.com with all sorts of different tutorials from wedding jewellery to decorations.
www.handmake.me
FACEBOOK
TWITTER
INSTAGRAM
Share this post
This site uses Akismet to reduce spam. Learn how your comment data is processed.


Comments