Featured Post
Clever Ways to Decorate a Reception Venue – Ideas to Inspire
In a wedding celebration, there’s no denying that the reception venue plays a crucial role....
In a wedding celebration, there’s no denying that the reception venue plays a crucial role....
24
Feb
2014
By Boho

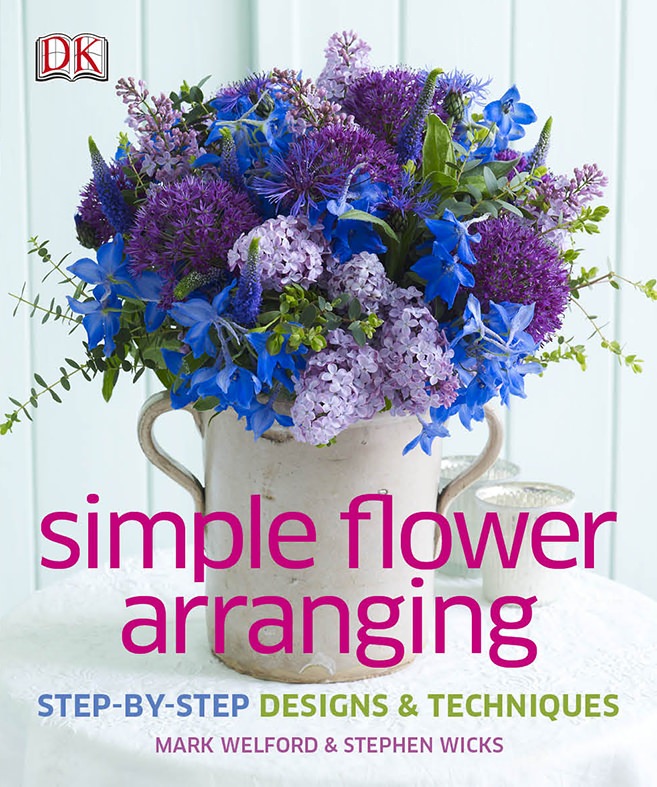
A few weeks ago I got sent a gorgeous book called Simple Flower Arranging. This book is FULL of amazing flower arrangements as well as incredibly useful hints and tips to create the prefect flower arrangement just like the professionals. Some tutorials are simple and traditional, while others ae more creative and harder. On flicking though the book I instantly wanted to go off and buy a whole load of beautiful blooms and create some flowery masterpiece! It really is jam-packed with beautiful and imaginative arrangements and certainly something for everyone!
Luckily for me and you Mark and Stephen the authors of the book have agreed to share with us two of their beautiful arrangements. I have chosen a fairly simply one for this week and coming up in a few weeks time is a slightly harder one! I hope you like them as much as I do!………Happy Flower arranging! xxxx

Loose and informal in style with a deliberately minimalist colour palette, this bouquet is arranged using a straightforward but impressive-looking spiral technique. The “binding point”, where the flowers are tied, is fairly high so they sit beautifully in the vase.
The soft country look of this bouquet is determined by its harmonious green, white, and creamy yellow colour scheme and the fact that it doesn’t contain stems of foliage (alchemilla mollis is used here as a variety of flower); foliage in a bouquet produces a sharper, more striking look. As with all our mixed bouquets, no two
flowers of the same variety sit next to each other; they are all evenly dispersed throughout the arrangement. The absence of leaves below the waterline, and the
stylish swirl of clean stems that results from using a spiral technique, are aesthetic details that help to lift and refine this design.

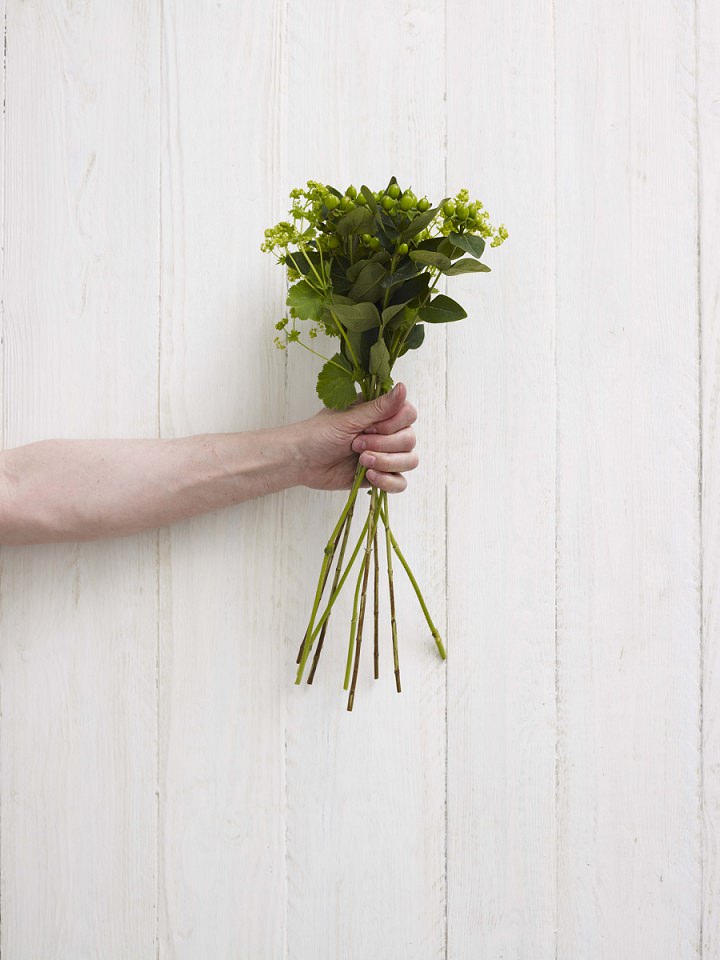
STEP 1) 1 Hold 1 hypericum stem and place 5 alchemilla and 4 more hypericum around it, adding 1 stem of each variety in turn. Angle the stems slightly as you arrange them.
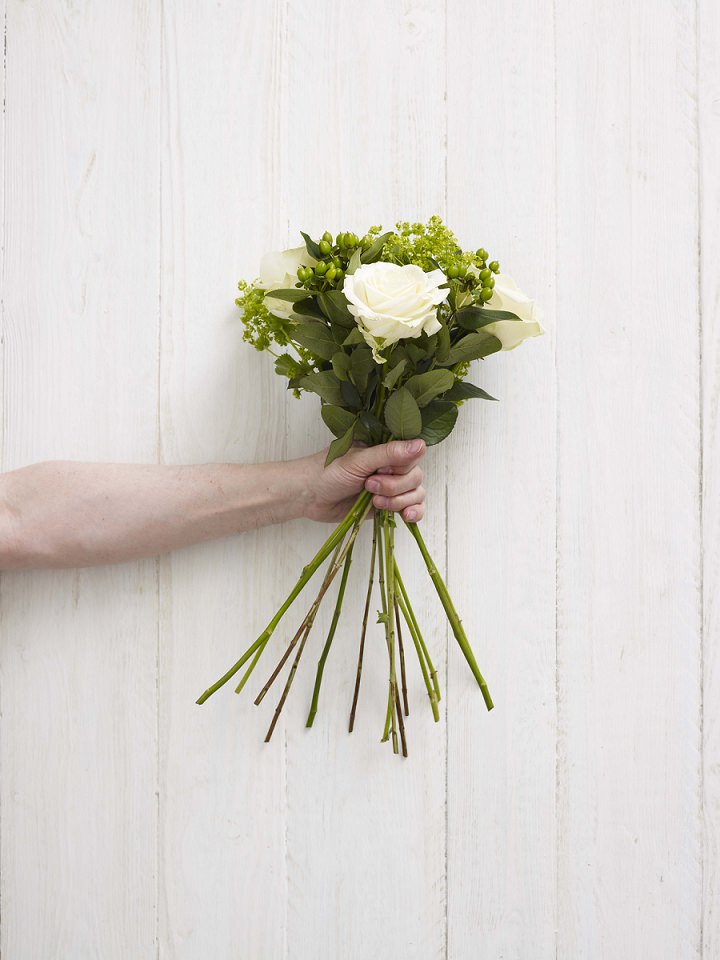
STEP 2) Add a rose, inserting it at an angle into the bunch where your thumb rests, so the stem points towards you and the flower points away. Turn the bunch slightly in one direction. Repeat with 2 more roses.
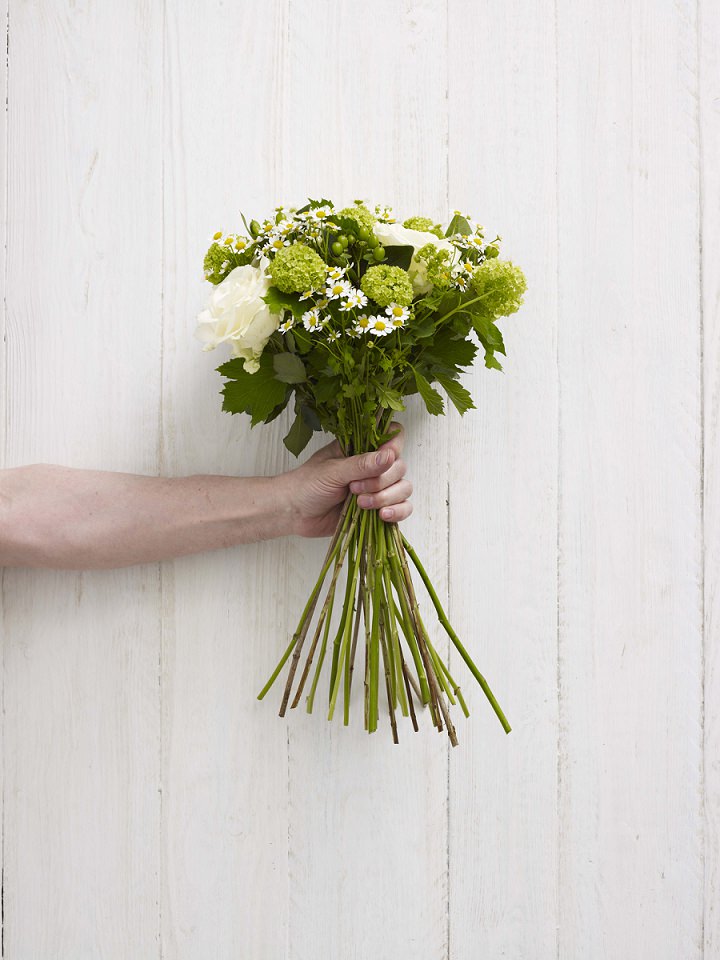
STEP 3) Intersperse 5 stems of camomile at the same angle around the outside of the bouquet. Turn the bunch slightly after adding each flower. Then twist the bunch round to face you – or hold it in front of a mirror – to spot any obvious gaps and check you are happy with the distribution of blooms so far. Adjust a few flowers slightly if needed.

STEP 4) Add 3 stems of guelder rose, working the stems into the centre as well as around the edges. Guelder rose naturally curves down, enhancing the rounded shape of this bouquet.
STEP 5) Add 5 stocks, then add one more of each bloom around them, angling these flowers slightly lower around the edges of the bunch to build its rounded shape. Check the look of the bouquet from the top again.

STEP 6) Angle the remaining flowers so they sit even lower around the edges to complete the domed shape. Secure the bouquet at the binding point with garden string,
twine, or raffia and tie in a knot. Trim the stems into a neat curve, cutting each end at an angle.
You can keep up to date with Mark & Stephen’s news here
F:BloomsburyFlowersLondon
T: Bloomsbury Flowers
P: Bloomsbury Flowers
B: Bloomsbury Flowers
Share this post
This site uses Akismet to reduce spam. Learn how your comment data is processed.


Comments