Featured Post

Ask The Experts: The Best Destinations for Honeymoons in Tanzania
If you and your partner want to visit an extraordinary destination for your honeymoon, consider...
If you and your partner want to visit an extraordinary destination for your honeymoon, consider...
24
Jun
2013
By Boho

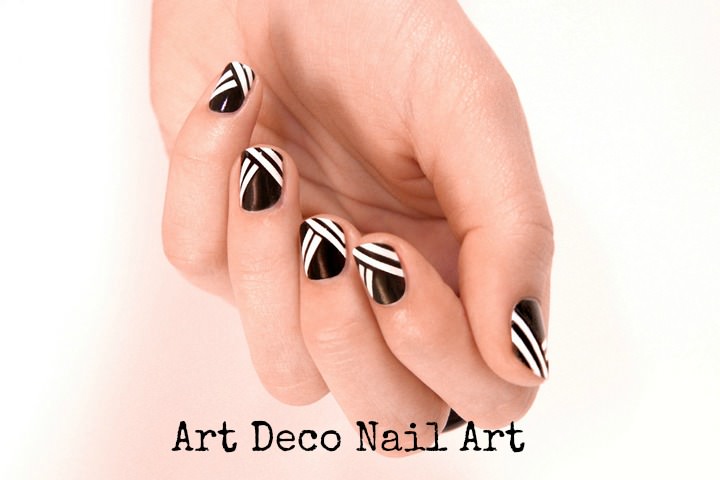
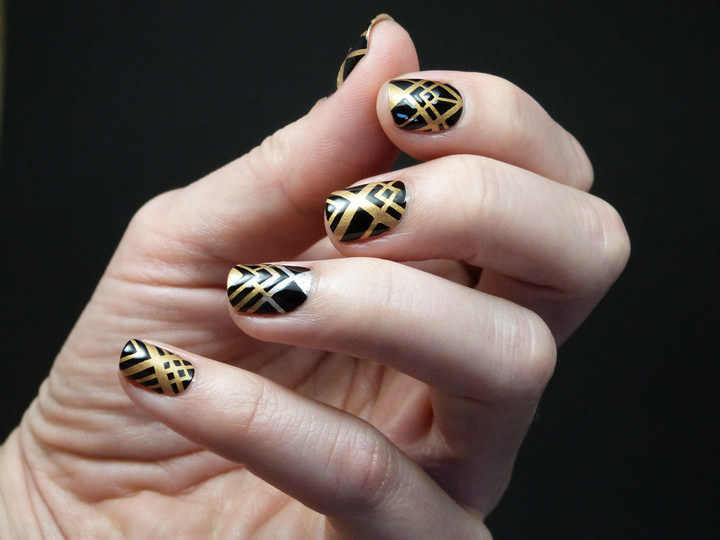
If any of you follow me on Instagram, you will know that I am a big nail fan, I get my nails done every 3 weeks and I love the variety of colours and designs that are currently available, I am especially partial to a bit of glitter! So when I received this nail art DIY from Scotch Tape I knew I had to share it with you!
Now this tutorial is pretty easy, but it will take a bit of time and patience to carry out, But the results will look fantastic! So if you have an evening free and you fancy making your nails super pretty then this one is for you.
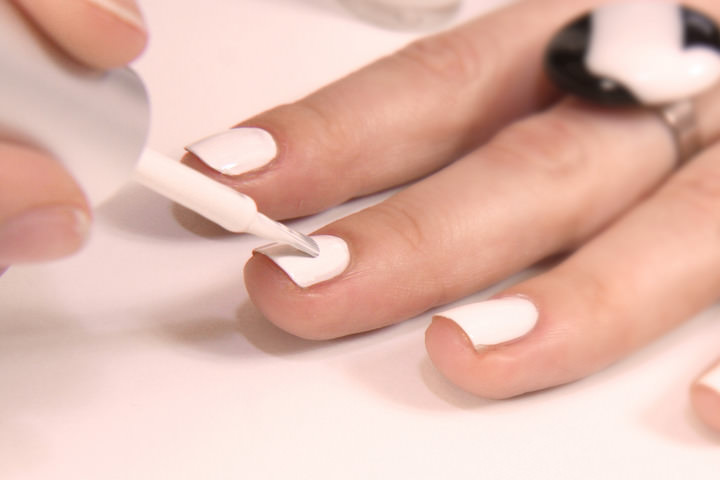
 STEP 1) Apply a base coat and leave to dry.
STEP 2) Apply a thin coat of white polish (or two depending on opacity) and leave to dry.
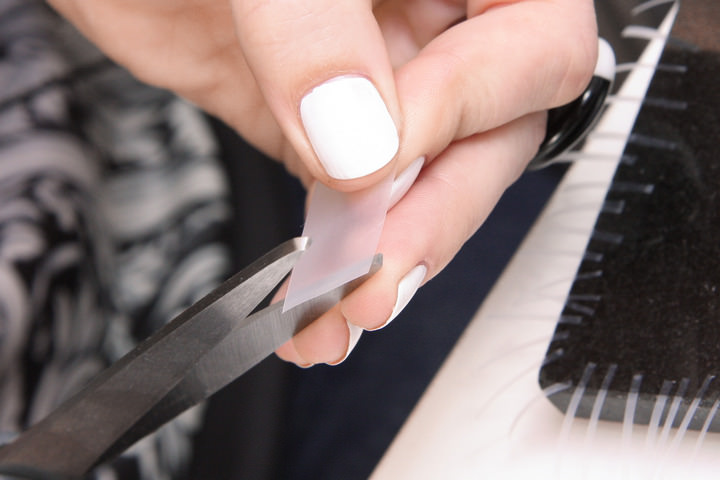
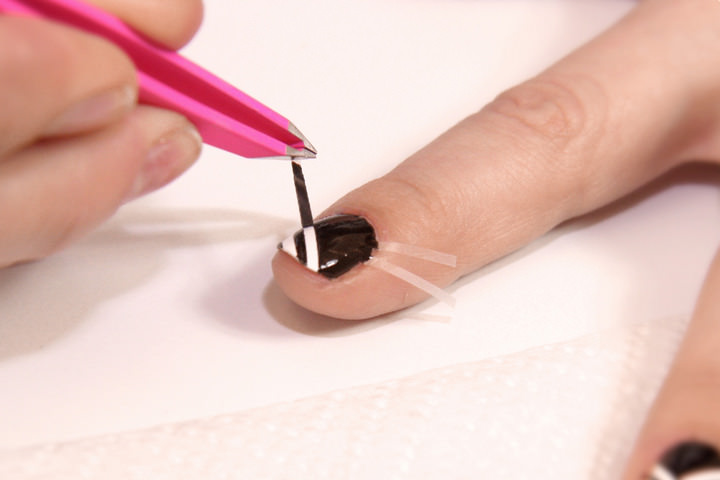
STEP 3) Prepare some narrow 2mm wide strips of Scotch Magic tape using a sharp pair of scissors. Rest the edge of the strips on the edge of a clean object so that they can be easily picked up later.
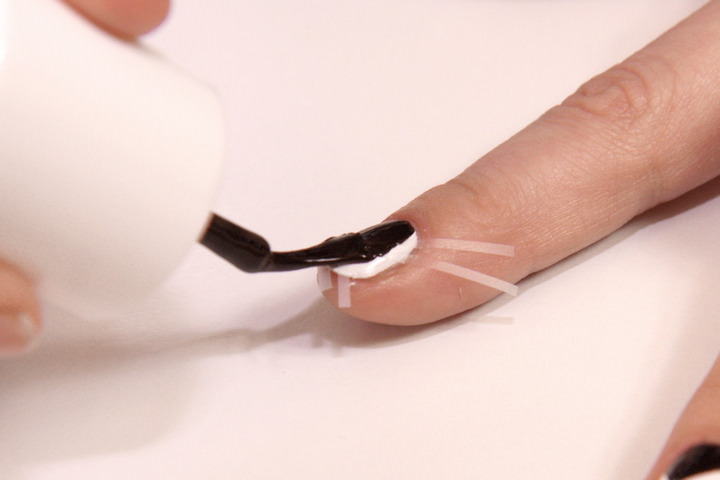
STEP 4) When the white polish is dry arrange the strips in your chosen pattern on all of the nails. We have chosen to use opposing diagonal lines to create a striking monochrome look. Make sure they are smooth and in full contact with the nail but don’t push on too hard. Use tweezers if you find it too fiddly with your fingers.

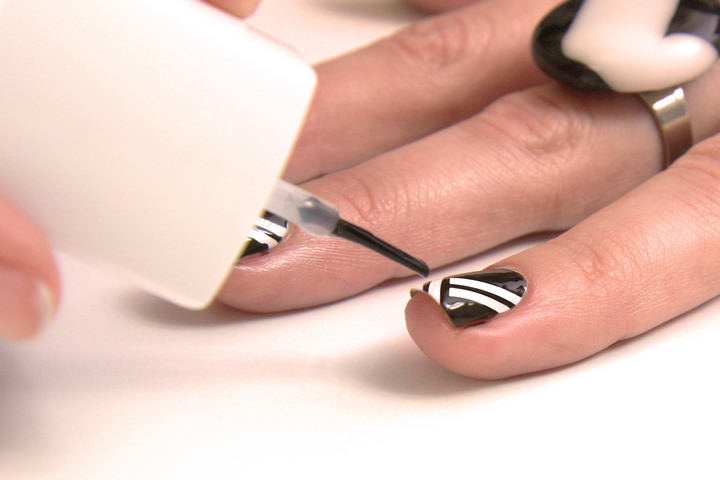
STEP 5) Once the tape is applied, paint one nail in black nail polish – painting over the white undercoat and the tape.
STEP 6) While the black polish is still wet, slowly remove the tape on the black nail piece by piece, using tweezers. Have a tissue handy to put the used pieces of tape on to.
STEP 7) Repeat steps 6 and 7 for each nail one by one.
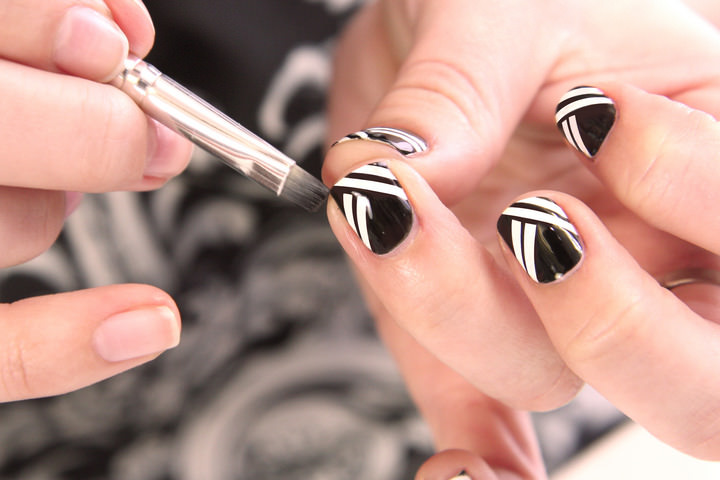
STEP 8) Leave until touch dry and then apply a top coat.
STEP 9) If necessary, you can dip a small makeup brush into acetone and use this to clean up around the nail to create clean smooth lines.
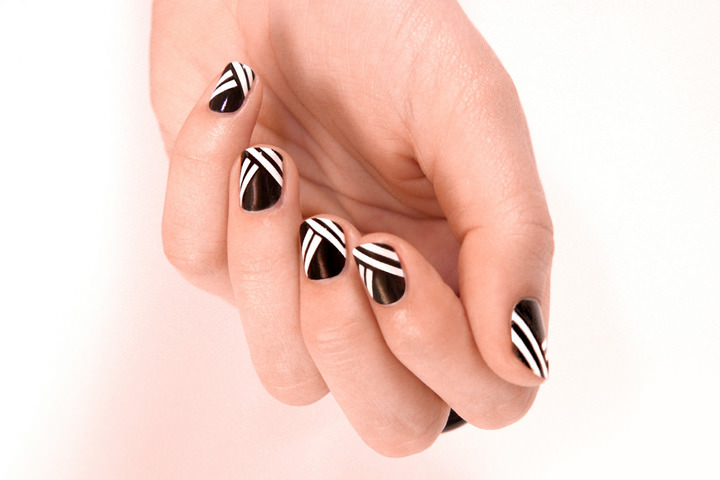
STEP 10) Admire the finished look!
Share this post
This site uses Akismet to reduce spam. Learn how your comment data is processed.


Comments