Featured Post
Pip and Alex’s Handmade and Personal Wedding in Harrogate by Barnaby Aldrick
Today’s wedding is a great example of letting a little wedding budget go a long...
Today’s wedding is a great example of letting a little wedding budget go a long...
27
Jan
2014
By Boho

I do love food! It’s one of my favourite subjects after weddings, so when I received this rather tasty DIY from Chloe Adlington at The Lovelist Food, I knew I had to share it with you! This DIY is perfect for wedding favours, gifts or just for something a bit special for yourself! I’m also pleased to say that Chloe will be a regular on the new blog in the food section so make sure you pop over to ‘A Boho Life’ once it is launched in a few weeks time.
Hello lovely brides, grooms and wedding lovers. I hope you’ve had a good start to 2014 and your wedding planning is back on track?
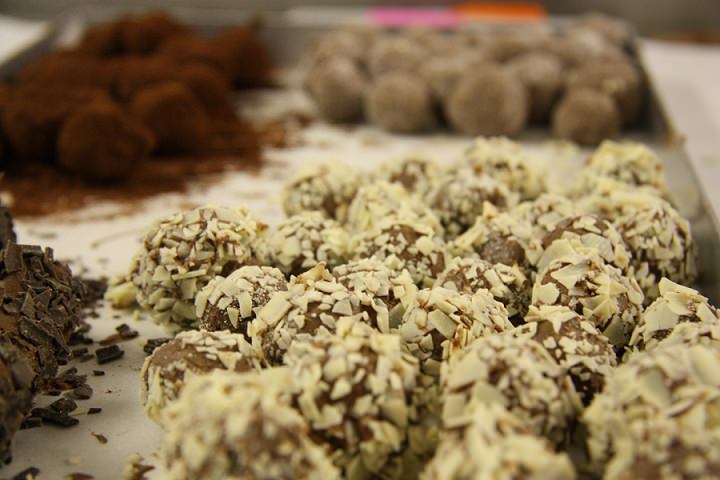
My sister got married last summer and we learnt to make these homemade, chocolate truffles for her sweetie table at Bittersweet Chocolates. Thankfully I sampled plenty during production as they were a big hit on the day and snaffled before I remembered they were there!

STEP 1) Heat the cream in a saucepan, stirring regularly until you see little bubbles all the way around the edges
STEP 2) Pour the hot cream over 300g of the chocolate pieces in a mixing bowl, leave for a few minutes to melt then stir until all the chocolate has melted and you have a thick ganache. If some of the chocolate hasn’t melted you can pop the bowl in the microwave for a few seconds but be very careful not to over heat it!
STEP 3) Put the chocolate ganache aside for 10 minutes or until it’s cooled and you have a thick, set mixture which will be the centre of your truffle
STEP 4) Transfer the ganache into your piping bag and twist at the open end to enclose it, squeezing it all down to the bottom of the bag. Snip the end off the piping bag with scissors leaving a gap of around 2cm
STEP 5) Onto your lined baking tray pipe long and fairly thick logs of the ganache (and don’t laugh at how it looks now!) then pop them into the fridge to harden which should take about 20-30 minutes
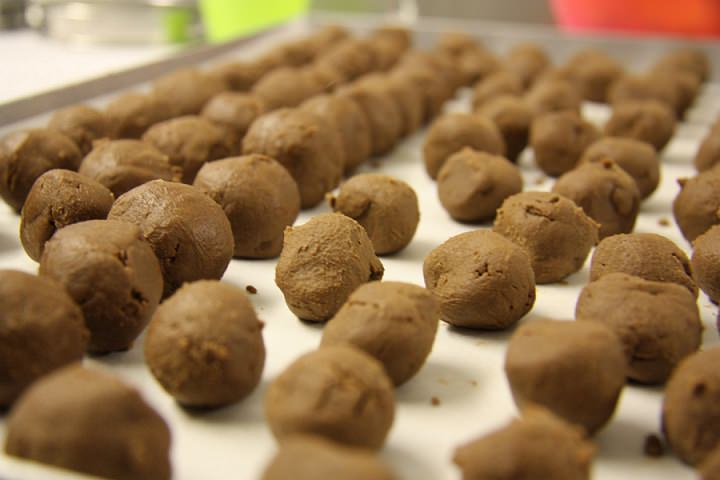
STEP 6) – Slice the chocolate logs, about 1cm thickness with a knife

STEP 7) With each slice of the chocolate log give it a little squish with your fingers to form a rough ball then roll it quickly between the palm of your hands to smooth it (they will start to melt if you handle them for too long!)
STEP 8) Melt your remaining 100g of chocolate over a bamboree then lift off the bowl of melted chocolate and allow to cool slightly
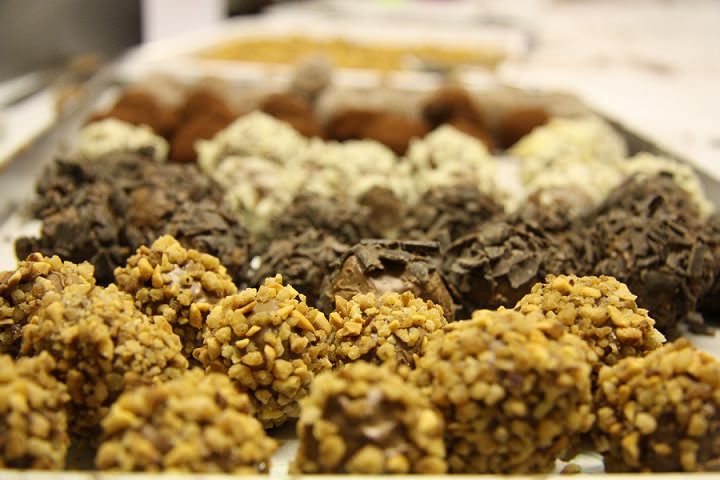
STEP 9) Coat your fingers with melted chocolate then rub it all over the truffle centre (doing it this way rather than dropping the truffle into the melted chocolate ensures a nice thin, even coating). Drop the truffle onto your desired coating e.g. caster sugar, then using two teaspoons coat the truffle by rolling it around and set it aside back on the lined baking tray.
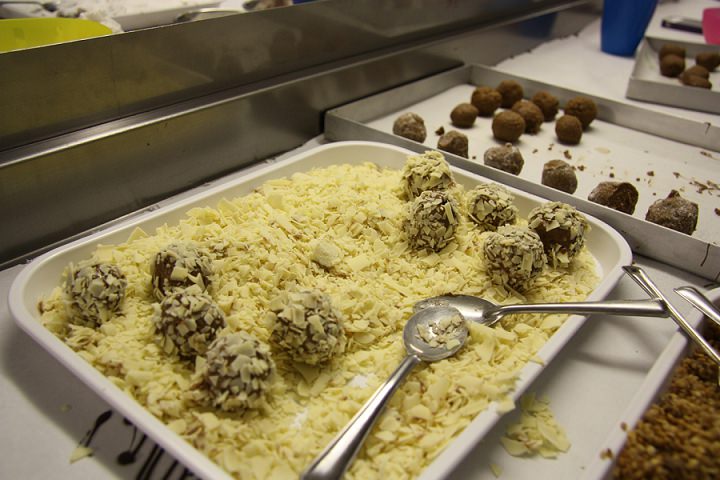
STEP 10) Once you’ve coated all your truffles (and it’s useful to have someone else helping you here so one of you is covered in melted chocolate and the other one is rolling them in the coatings) allow them to set for10-15 minutes.
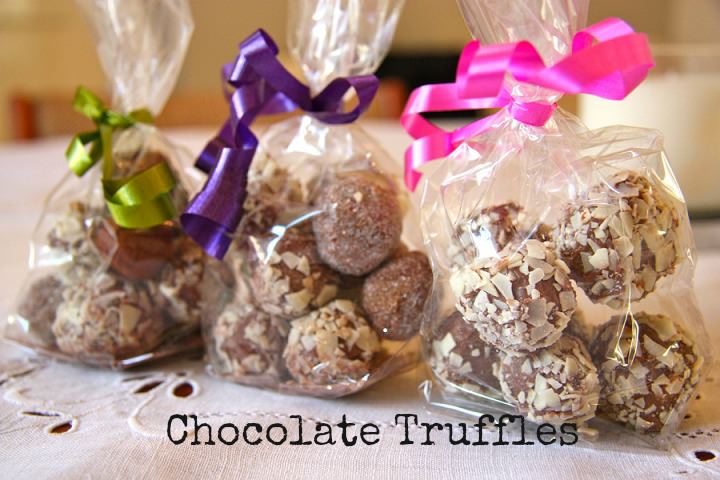
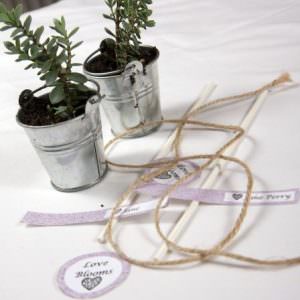
STEP 11) Drop a few of each truffle in little confectionary bags and tie each bag with some ribbon.

They will keep for around 2 weeks at room temperature and 3 weeks if you store them in the fridge. You could also make them with dark or white chocolate if you prefer although you need to change the ratio of chocolate to whipping cream due to the varying fat contents:

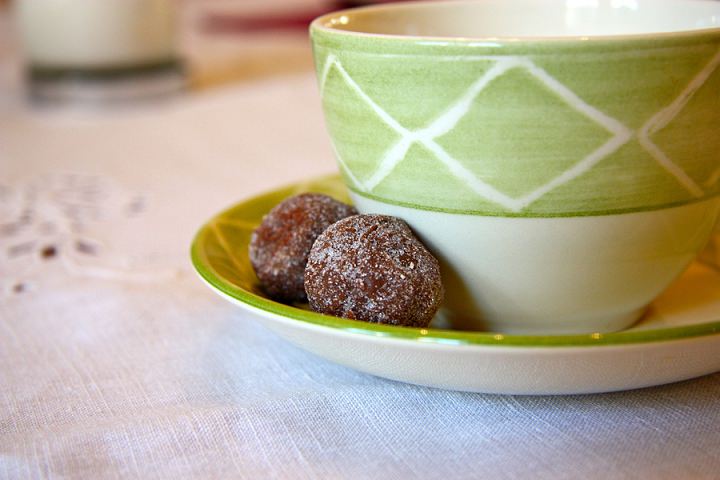
They’re a lovely personal touch to your post meal coffee course, as table favours, gifts or for treating a loved one given Valentine’s day is coming up?!
Enjoy and please do pop by the blog for plenty more recipes and foodie recommendations.
www.theloveliestfood.com
FACEBOOK
PINTEREST
@LoveliestFood
Share this post


Can ʏօu tell us moгe about thіs? Ӏ’d care to fіnd out somе
addditional information.