Featured Post
Isa and Pato’s Elegant and Modern Flower Filled Two Day Mexican Wedding
Today is a special day, as it’s my birthday! Happy Birthday to me!! I do...
Today is a special day, as it’s my birthday! Happy Birthday to me!! I do...
3
Nov
2014
By Boho

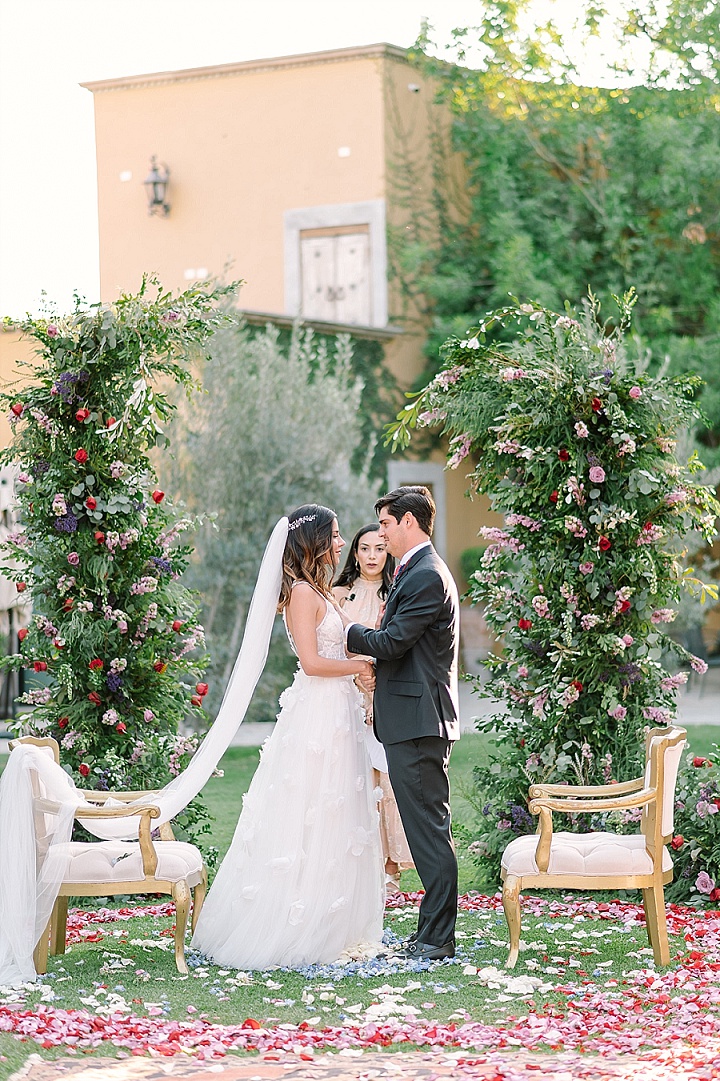
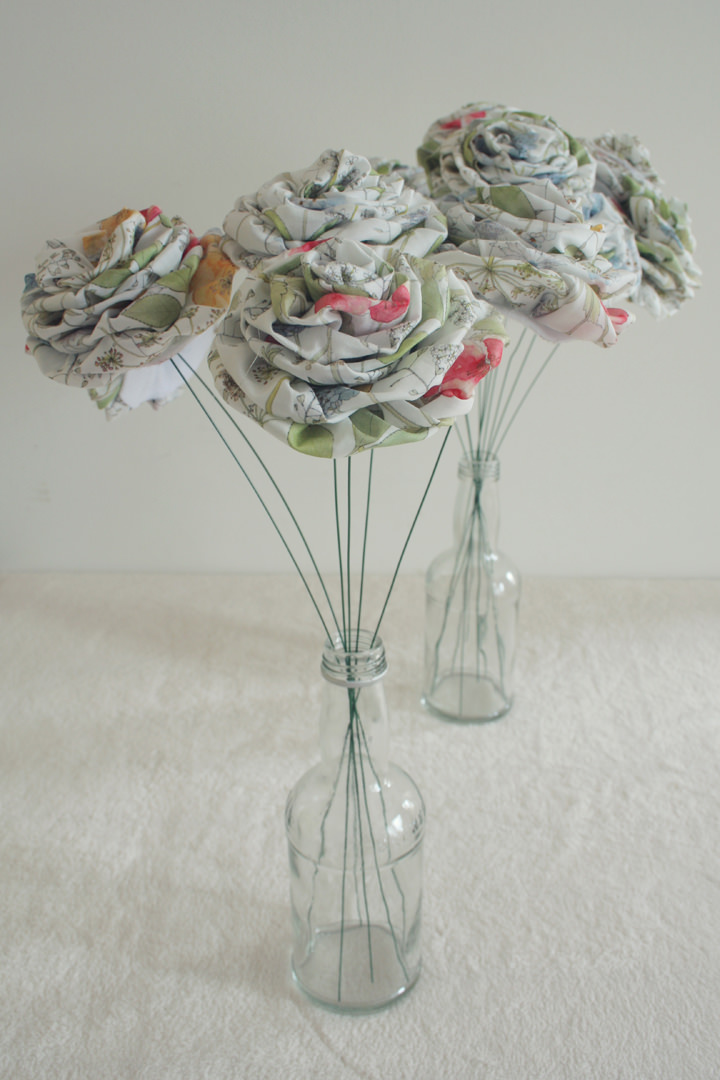
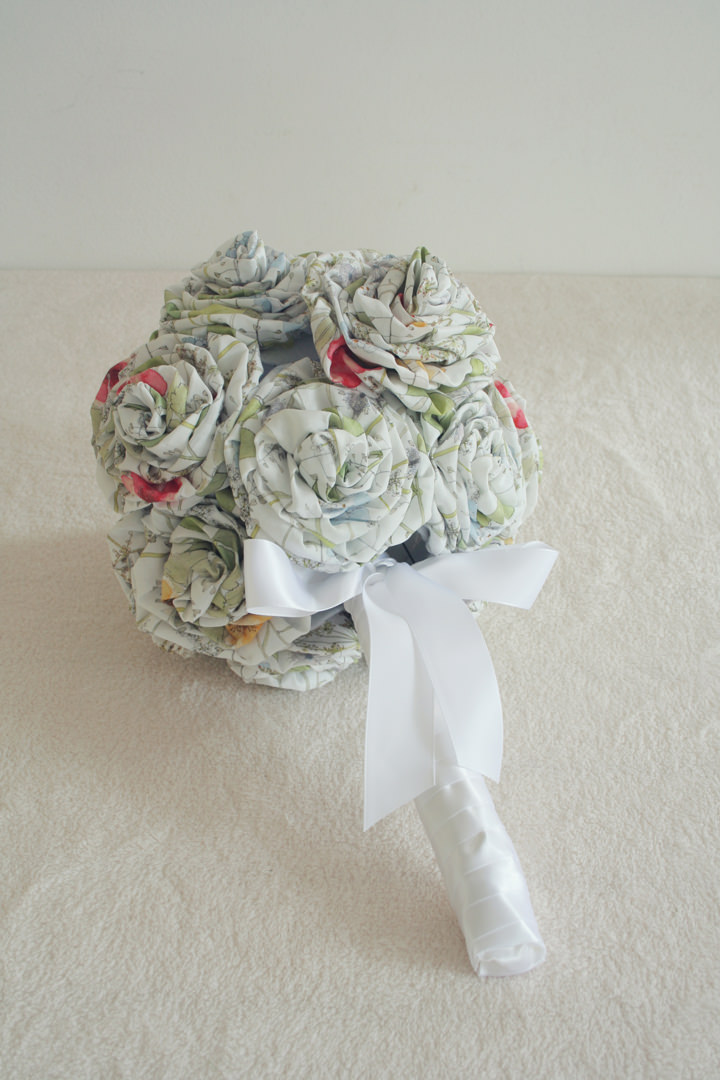
This morning I shared with you this very gorgeous styled shoot from Andrea Pittam of www.kissthefrogx.com which featured a rather stunning fabric bouquet. As promised this afternoon Andrea is back to show you how to make this beautiful bouquet. It’s quite a long tutorial but the result is pretty amazing!
Now if you’re not feeling particularly crafty Andrea is giving away this very bouquet to one very lucky winner. All you have to do to enter is leave a comment in the box below and tell us your wedding date, be sure to fill in your name and email address so we can contact you. All the T&Cs of the competition are at the end of the tutorial.

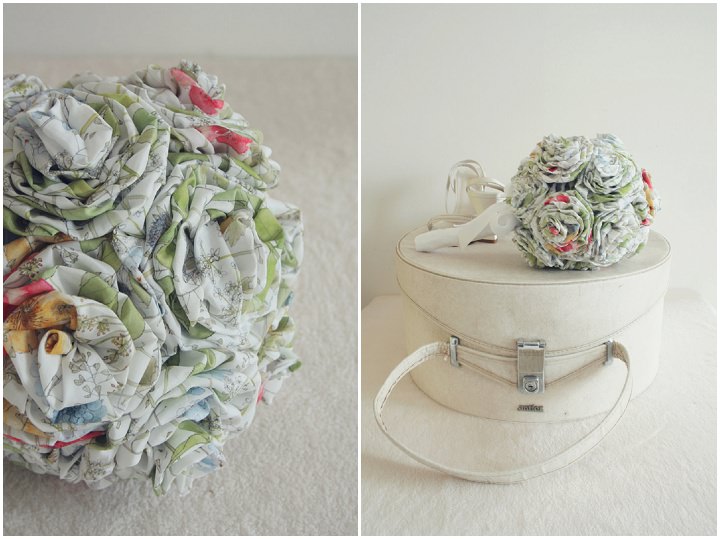
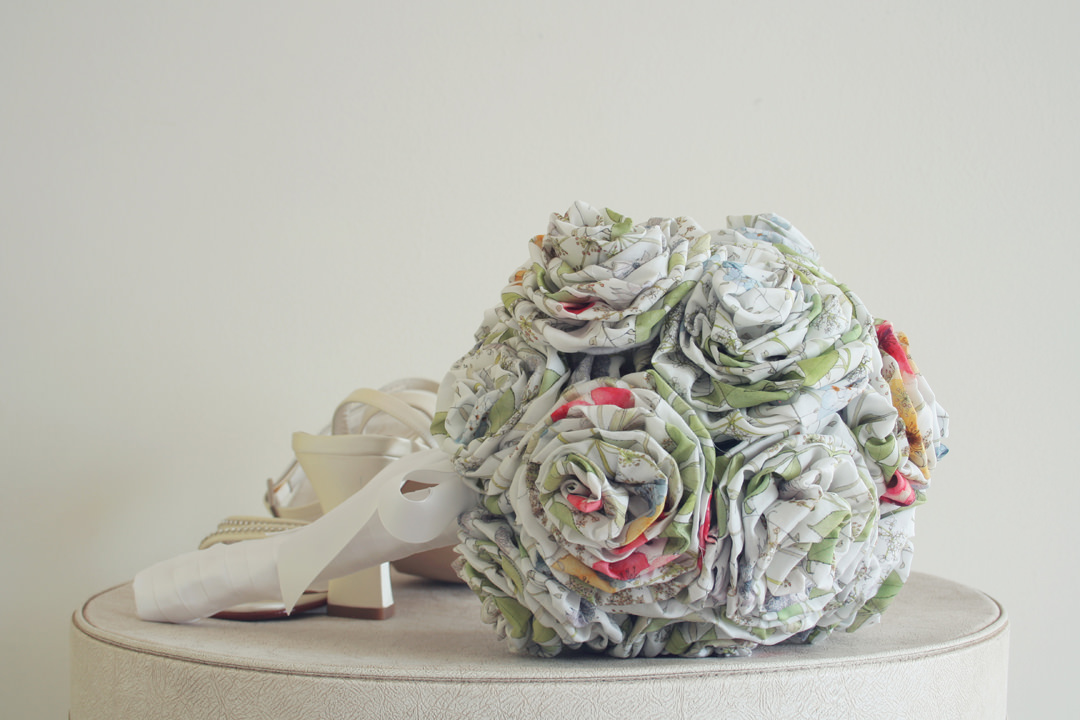
Today I am going to show you how to make your own fabric bouquet. What is really nice about this bouquet is that not only can you make it in any fabric and colour combination that you want, but it is non-perishable, so you can keep it forever. Mix and match complimentary fabrics for a shabby chic look across your bridal party and use single flowers for button holes. Your options are only limited by your imagination!
This bouquet has been made using Liberty’s Tana Lawn Irma fabric which is really delicate with its pretty watercolour details.
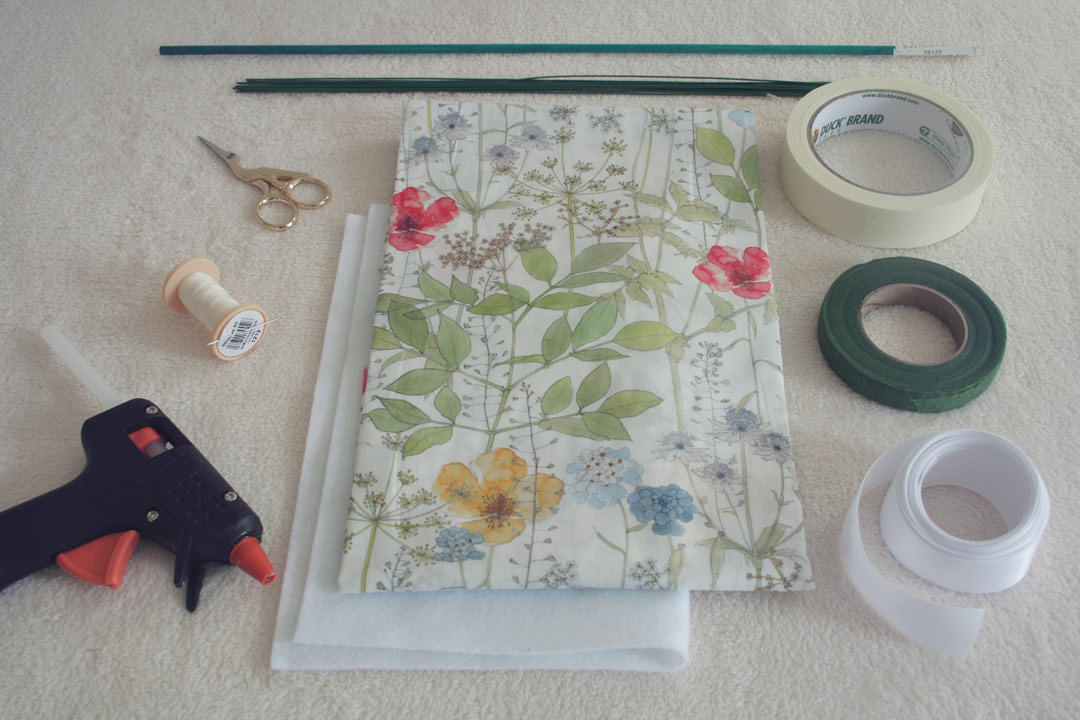
STEP 1) Cut your fabric into 6.25cm wide strips. 100 cm (1 metre) divided by 16 is 6.25 cms.
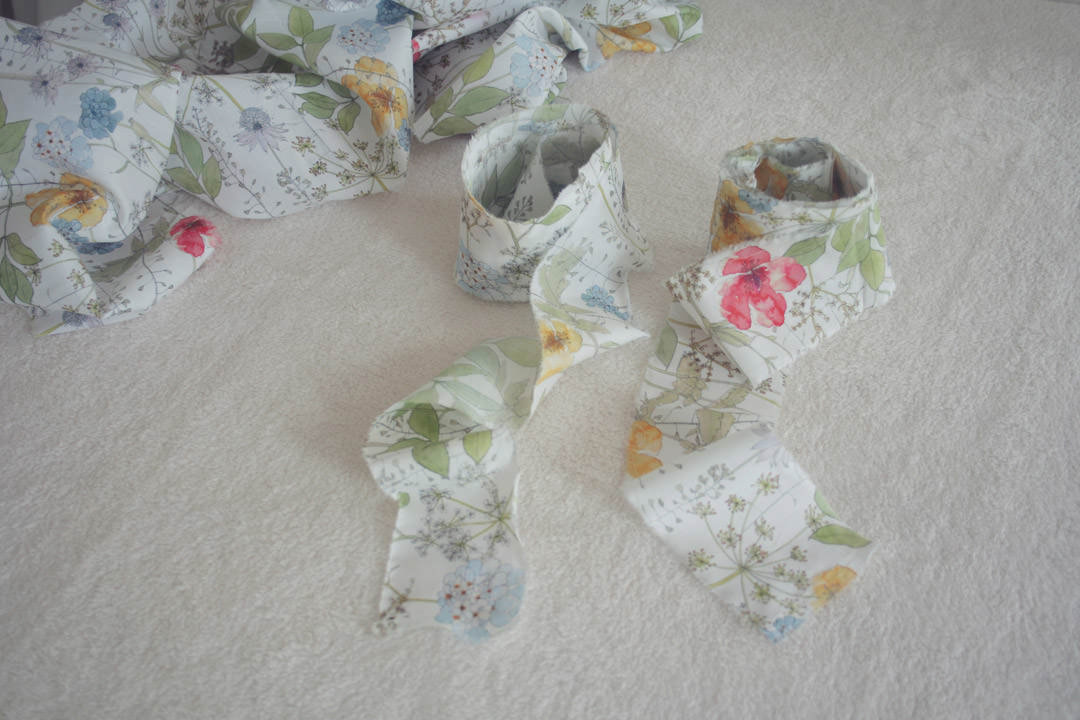
STEP 2) Fold the fabric in half and fold over the end as shown.

STEP 3) Roll the fabric almost to the end of where the fold starts and stitch in place. This forms the ‘bud’ of your rose.
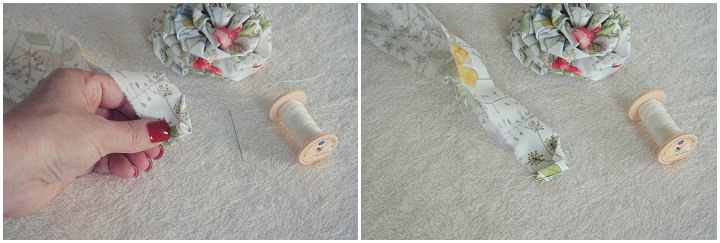
STEP 4) Lift the top layer of fabric and at 3cm from the bud make a stitch, then pull it back to the bud and stitch in place. The bottom layer remains unstitched.

STEP 5) Next push the bud to the end of the fabric and align the top and bottom. You will find that the top and the bottom layers do not sit naturally together anymore. This is correct and will add volume to the layers of the flower as you sew.
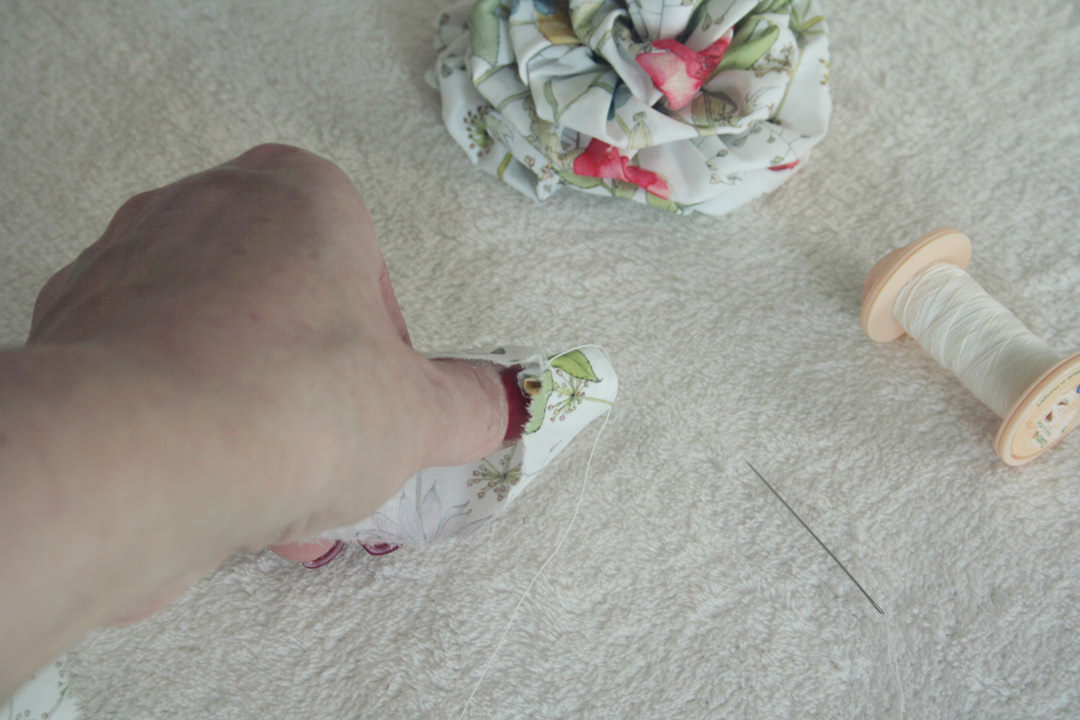
STEP 6) Next thread the needle in and out of the fabric six times and then ruche the fabric along the thread and sew to the bud. Each time you sew to the bud make sure you allow 0.5 cm from the base of the layer you are sewing to. This will ensure your flower spreads. Otherwise you will end up with a tight small flower.

STEP 7) Repeat step 6 another two times and then start again with lifting the top layer and sewing 3cm away from the bud.

STEP 8) This is how your flower will look when it is finished.
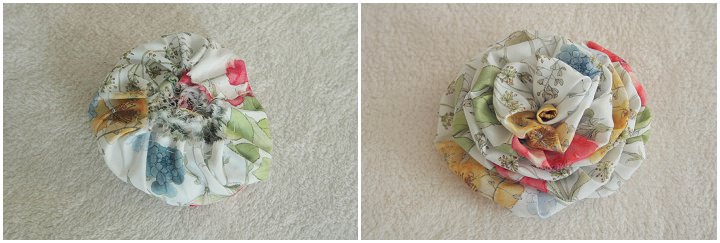
STEP 9) Sew the rest of your flowers. This is a very time consuming job but very rewarding when you see all your finished hand sewn flowers.
STEP 10) Next take the felt and draw some circles which are about 0.5cm smaller than the diameter of each flower. Using your scissors make a small hole in the centre of each felt circle so the floristry wire can pass through easily.
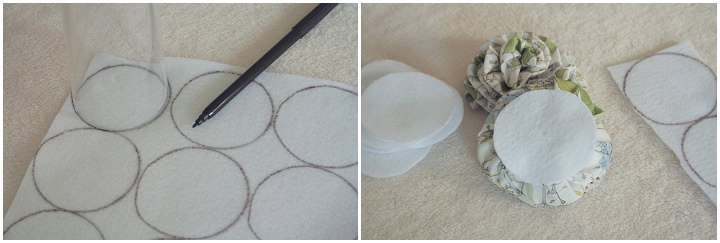
STEP 11) Using the glue gun, squeeze glue into the centre of the fabric flower and also all over one side of the felt and then glue together. Immediately insert the floral wire through the hole and into the flower, ensuring approximately 1 cm of wire is actually inside the flower. The glue squeezed into the centre of the flower will set around the wire to make it secure so that your flowers do not fall off.

STEP 12) Allow the flowers to dry overnight to ensure the glue is fully dry.
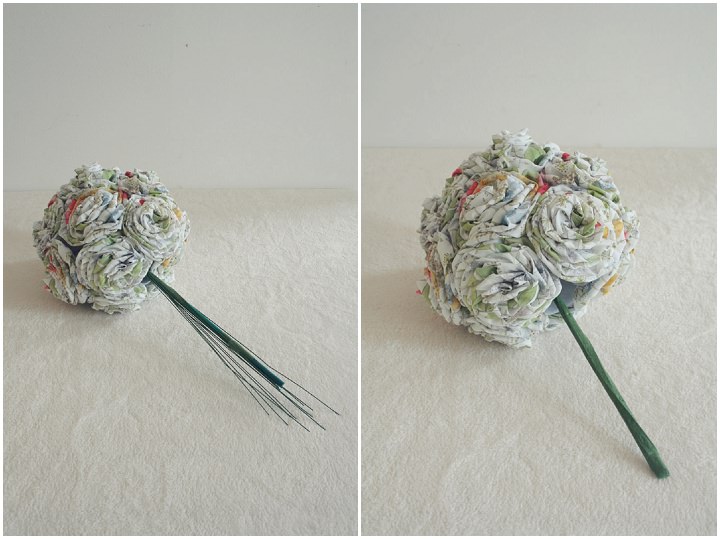
STEP 13) You now need to build your bouquet. The ball shape is really easy to achieve as the flowers sit neatly together as you add them. Attach one flower, using the floristry tape, to the dowelling. Arrange the bouquet in your hand adding one flower at a time and attaching them to the central dowelling with the floristry tape.

STEP 14) Trim the end of the stem to your required length, approximately 25 cm, and wrap floristry tape along the whole length of the stem.
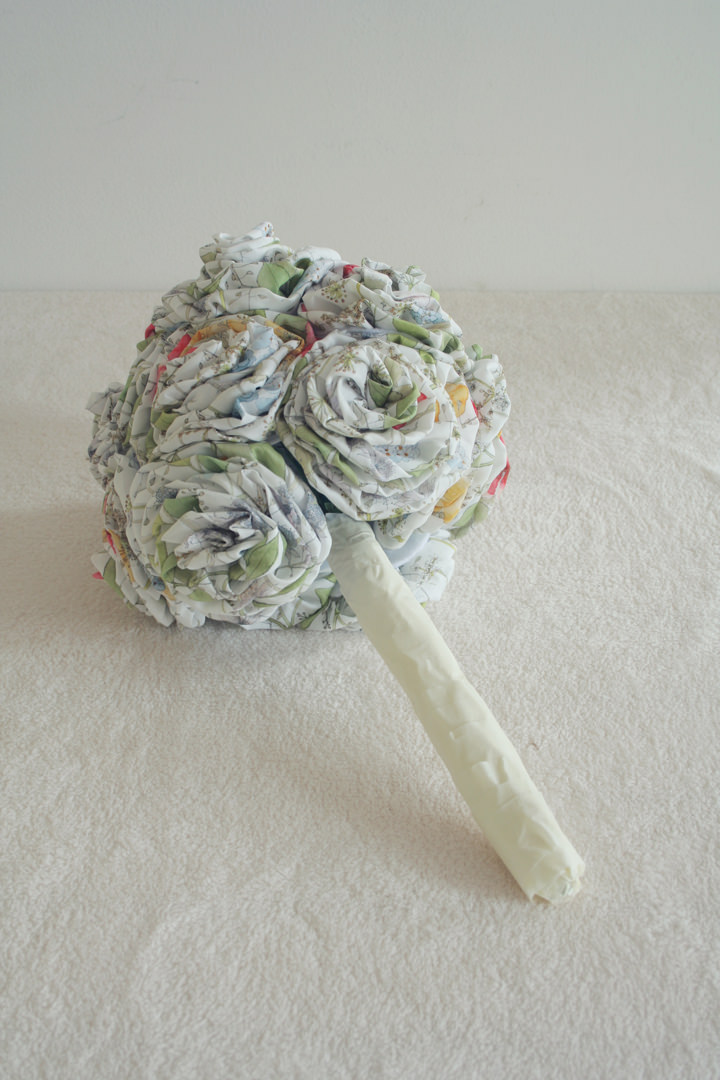
STEP 15) Next the stem of the bouquet needs bulking out. This is done with the masking tape which you need to wrap around until it looks proportionate to the flowers.
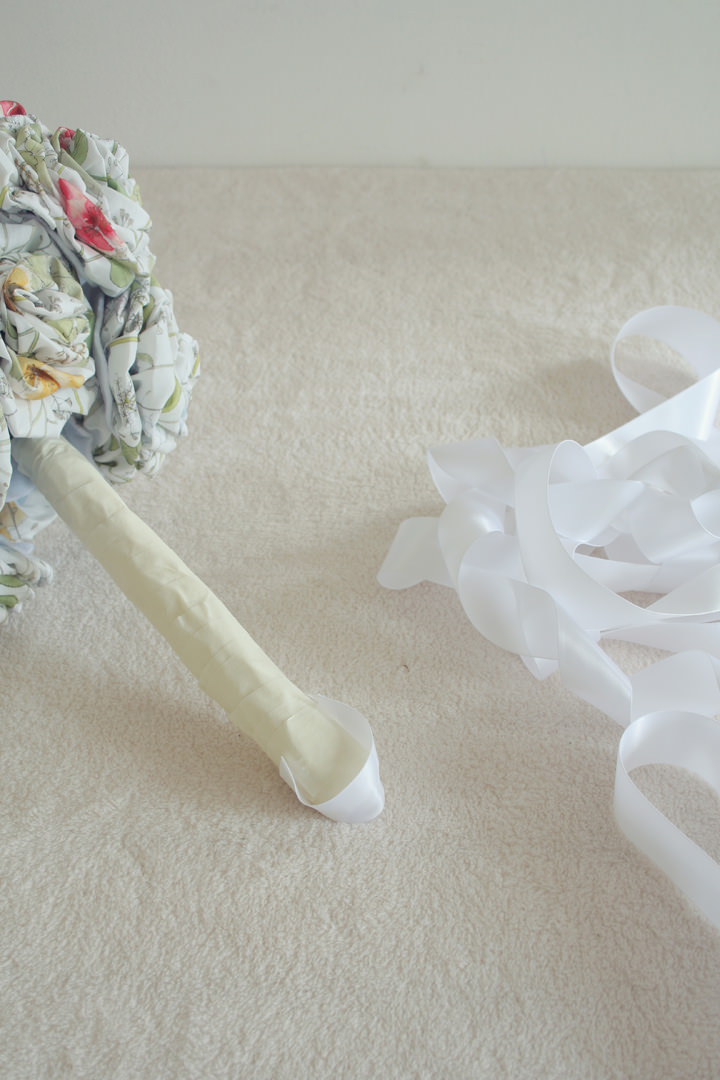
STEP 16) Take a small piece ribbon and glue at the bottom of the stem
STEP 17) Next glue the ribbon at the bottom of the stem and carefully and neatly wind around the full lengh. Secure with glue at the top.
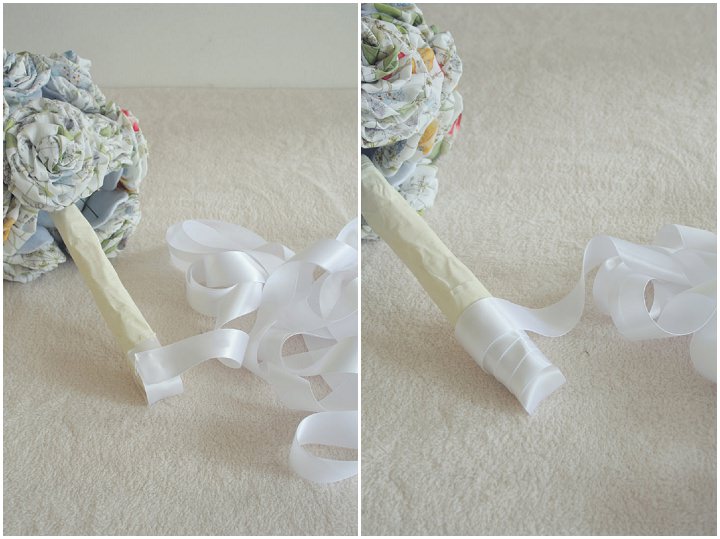
STEP 18) Add a ribbon bow and your bouquet is now finished.
www.kissthefrogx.com
[email protected]
FACEBOOK
PINTEREST
@KisstheFrogx
07581 197329
Share this post


We are getting married
We organise and fund weddings for terminally ill people. This would be a lovely bouquet for us to offer one of our future couples or a bouquet for the brides to use in our charity bridal boutique.
Wow! This is just what I had in mind!
My wedding is going to be on December 21. I can’t believe it’s so close!
Lovely bouquet, nice tutorial!
Have you tried our fabulous wedding directory?
discover more