Featured Post

Boho Pins: The Best of Boho – Disco Ball Weddings
Happy Monday everyone! I hope you all had a fabulous weekend? I had a lovely...
Happy Monday everyone! I hope you all had a fabulous weekend? I had a lovely...
10
Sep
2013
By Boho

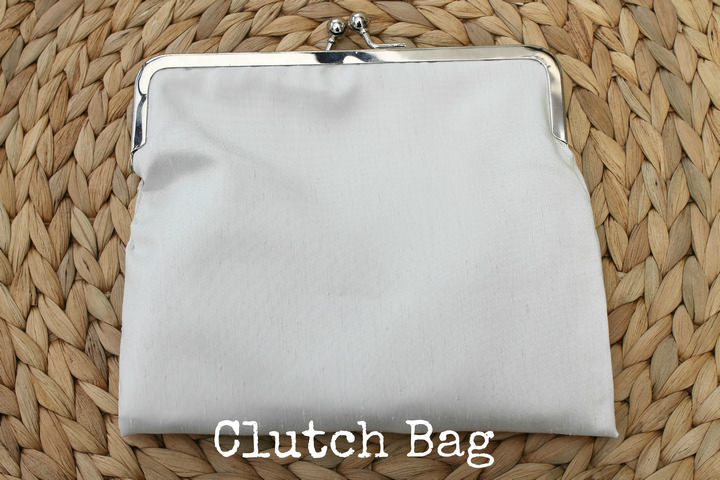
Due to some technical problems at Boho HQ yesterday I wasn’t able to bring you yesterdays DIY Tutorial, however it has now all been fixed, so better late then never I’m delighted to welcome back Laura from The Mrs Makes to the Blog. Today Laura is showing us how to make this super cute clutch bag. Laura has been writing for the blog for a while now, and since she has been married I have invited her back on a regular basis to share with us her wedding ideas and inspiration. Laura is currently in the process of setting up her own Etsy shop to share her DIY creations. (more details on that to come soon)

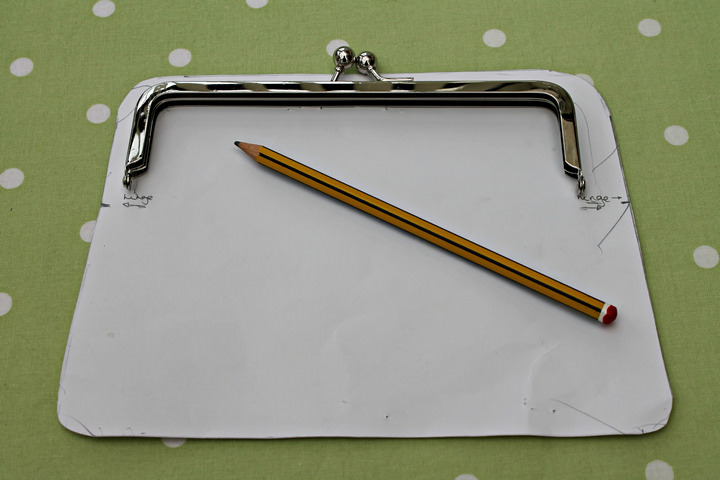
STEP 1) First up, draw your pattern on the card. Lay the clasp on the paper and draw around the TOP on it (not inside) and make sure you mark on where the hinges are.
STEP 2) Cut out your fabric. You need two pieces of the lining and felt, and one fiece for the outer cut on the fold. Personally I like cutting a double outer as the finish looks much more professional. Mark on the fabric (wrong side) where the hinges are.

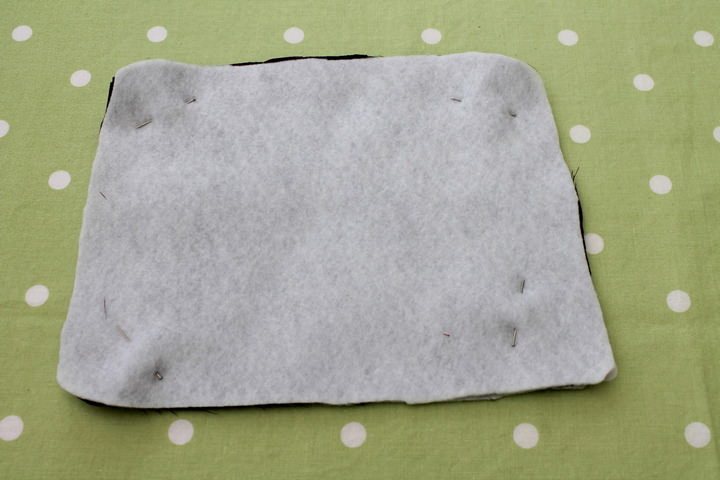
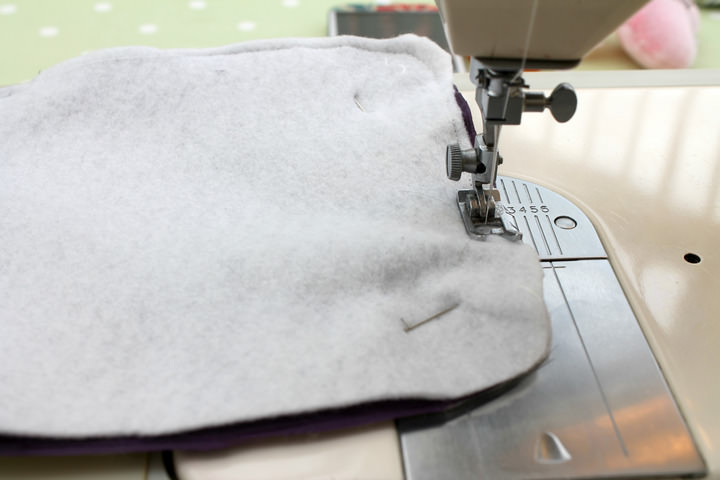
STEP 3) Pin the lining right sides together with the felt on the outside and sew around the bottom – hinge to hinge – but leave about a one inch hole in the bottom; this can be sewn up later.
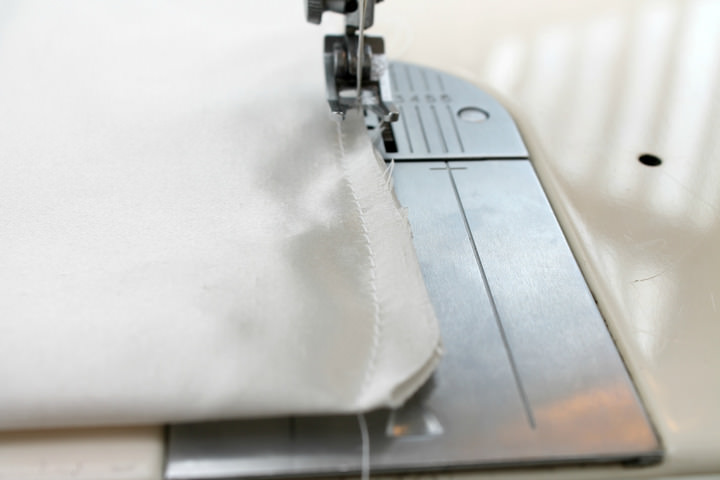
STEP 4) Now take the outer and fold right sides together. Sew up the sides up to the hinge marks.
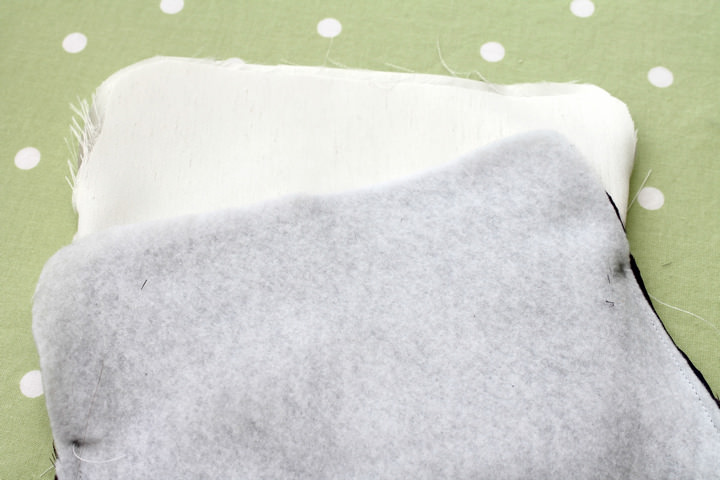
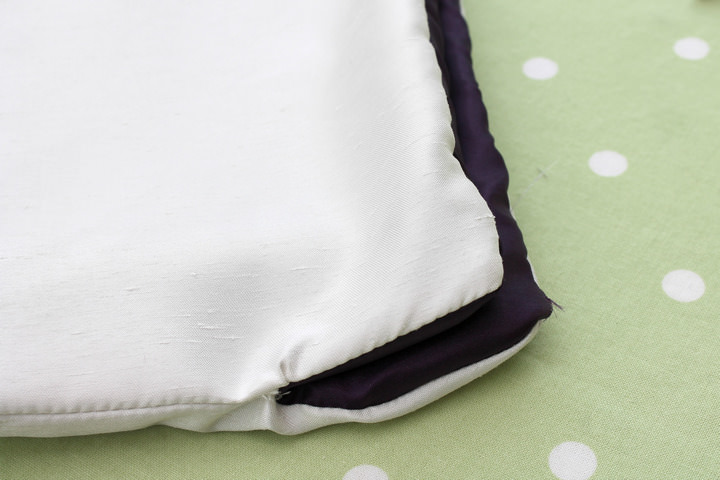
STEP 5) Now turn the outer bag right side out, and place it inside the lining bag. The right sides should be touching.
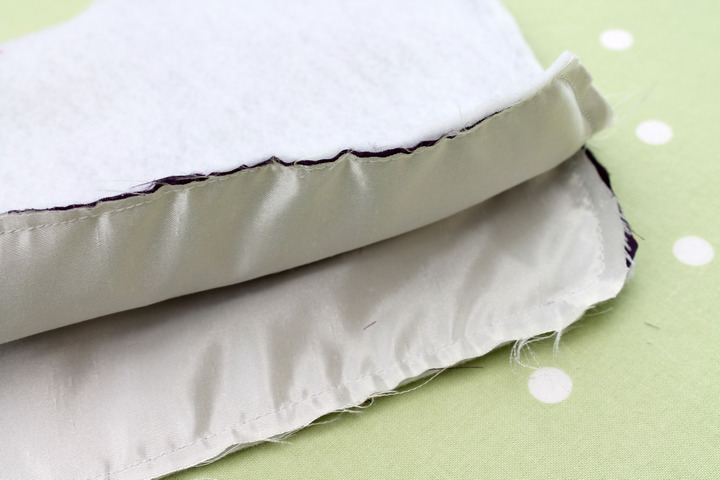
STEP 6) Take the two bags and sew the top flaps. You want to go from hinge to hinge, and sew the outer to the lining on both sides.
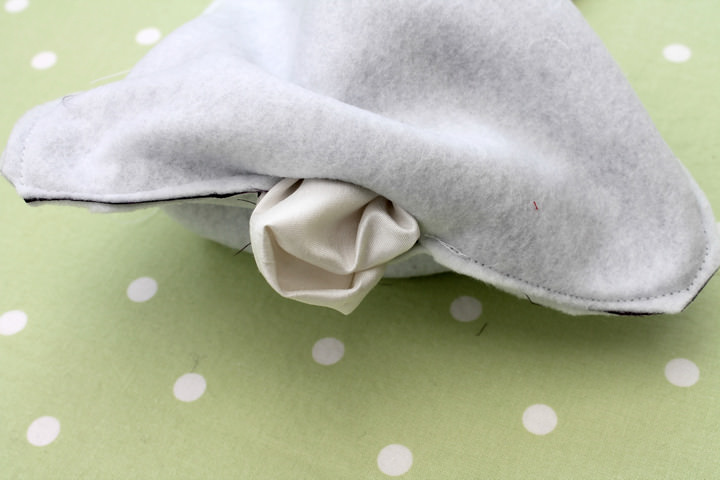
STEP 7) Now pull the outer bag through the hole in the lining, be gentle but firm, you might need a pencil or something to poke it all the way through!
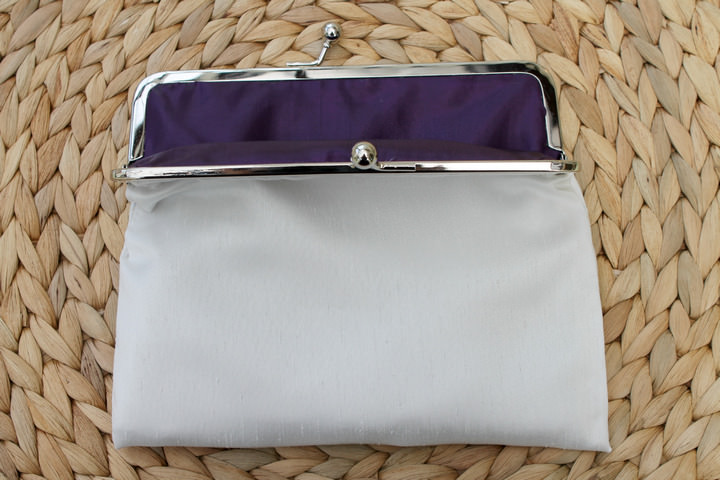
STEP 8) Now take your clasp and one flap at a time, glue the fabric to the inside of each bracket.
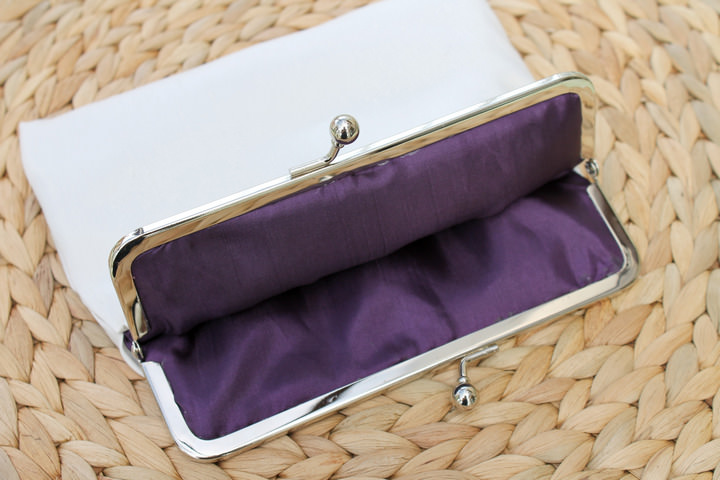
STEP 9) Voila! A cute clutch bag! Embellish your bag to your heart’s desire, or leave simple and glamorous.
www.themrsmakes.com
FACEBOOK
@TheMrsMakes
Share this post
This site uses Akismet to reduce spam. Learn how your comment data is processed.


Comments