Featured Post

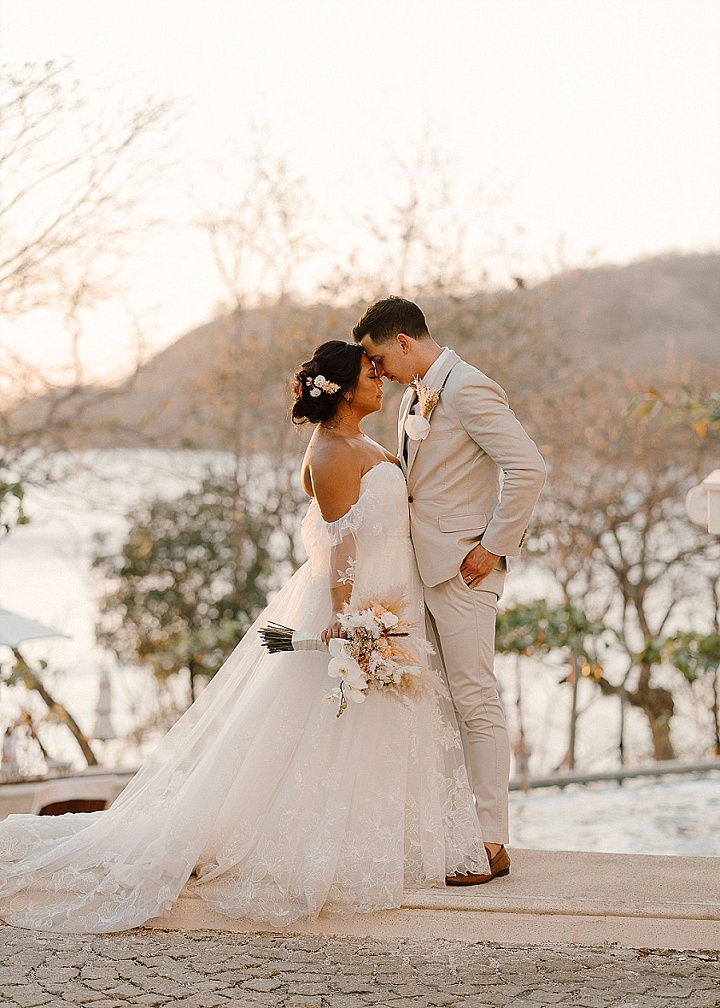
Gina and Josh’s Beautiful Tropical Beach Wedding in Costa Rica by Raw Shoots Photography
After a few days away in Cornwall, I am back with a week full of...
13
Apr
2012
Welcome back to Fridays Bridal Style Make Up Lesson………this week we are looking at Eyes.
We kicked off the tutorial last Friday with the 1st lesson being Base (If you missed it you can see the full post HERE) we covered all the steps to making sure you have great coverage on your face my resident make up artist Catherine Hughes from Ivy Clara showed us how to create blemish free, even skin. I volunteered as the model for this project so you can see that this look can be recreated by anyone, not just young 20 something models….this looks is for real women, wrinkles and all!
Once again I’d like to say a big thank you to Catherine for the Make Up, Bil from Hair Aesthetics, Nicola Thompson for the Photography , Styal Lodge for the use of the Venue
So on todays tutorial – Week 2 EYES.
I’ll pass yo over to Catherine………….
1) To start the eye makeup, I always fill in the brows first. It isn’t essential that this is done first but personally I feel that they provide a frame for the rest of the eye makeup if done first. Fill in the brows with a soft matte eye shadow in a shade that compliments your hair and skin tone. I would always suggest investing in a mid brown and light brown shade which can be mixed to create shades in between.

2) Going over the powder with a sharp pencil gives a more multi-dimensional finish and more depth to the brow. Use light, short upward strokes for a natural effect. Choose a brow pencil that isn’t too creamy and make sure you sharpen it into a fine point.

3) To ensure that eye shadow has longevity and does not crease, it is really important to apply an eye shadow base. Here I used a crème eye shadow in peach from the ‘eye love it’ range by Daniel Sandler. I love this shade as it provides a long lasting base which brightens the whole eye area.
4) Next, to make Kelly’s eye colour ‘pop’, I used a bronze/gold powder eye shadow called Patina by MAC and applied it all over the eye lid. I built the colour up a little more into the outer socket line to increase intensity.

5) To create a subtle dramatic look, take a darker bronze or brown and apply to the outer corners of the socket lines. The socket line is the hollow line that you can see at the top of your lid. I used a darker bronze colour and added it to the outer corners of the eye into the socket line. It is important to blend colour well and avoid harsh lines. I used a fluffy blending brush to soften and diffuse the colour in the socket line.

6) A quick way to make it look like you have had lots of sleep is to apply a highlighting shadow to the inner corner of the eye. Here I used Peach eye delight by Daniel Sandler, adding a small amount to really brighten up the eyes.

7) I applied pencil eyeliner along the top lash line and along the bottom lash line. I used a waterproof eyeliner in brown by Daniel Sandler. When applying pencil liner to the upper lid, it is important to pull the eye taught ‘upwards and outwards’ to make sure you can get really close the lash line. I added the same pencil to the outer corner of the lower lash line, stopping half way along the eye. For those ladies who love eyeliner, this is a more subtle way of wearing it along the bottom lash.


8) Next , to soften the look, I smudged the lines with a small brush and buffed in a light brown along the line to soften and to set the eyeliner in place.

9) After curling the lashes, I applied a couple of coats of mascara, brushing through the lashes between coats to avoid clumps. My favourite mascara of the moment is L’oreal Million Lashes as it isn’t too thick and isn’t too thin…it’s just right!

10) I almost always use false lashes on brides, even for a natural look. Eyelure do some fantastic natural ones that are undetectable as being false. Apply the glue along the strip and wait a few seconds for it to become tacky. Fix at the centre of the lash line first then at the outer corner and finally at the inner corner. Make sure that the glued strip is as close to the lashes as possible. As a final touch, I gently pinch the false lashes into the natural lashes using tweezers. This ensures that they are fixed securely. After applying the lashes to Kelly, I gave another coat of mascara to blend her natural lashes into the false ones.


So there you go, not that hard really?! I hope you found the step by step eye tutorial useful!, do let me know what you think.
And remember if you missed last weeks lesson you can find it HERE
Come back next Friday when we cover cheeks and Lips
For more information for all of those involved in the shoot go to:
Make Up – Ivy Clara
Hair – Aesthetics Hair
Photography – Nicola Thompson Photography
Venue – Styal Lodge
Hair accessories and Cuff – DC Bouquet
This site uses Akismet to reduce spam. Learn how your comment data is processed.
Comments