Featured Post
‘Citrus Fun’ Colourful, Modern, Balloon Filled Spring Wedding Inspiration
With Easter weekend upon us, spring really does feel like it is just around the...
With Easter weekend upon us, spring really does feel like it is just around the...
30
Aug
2023
By Boho
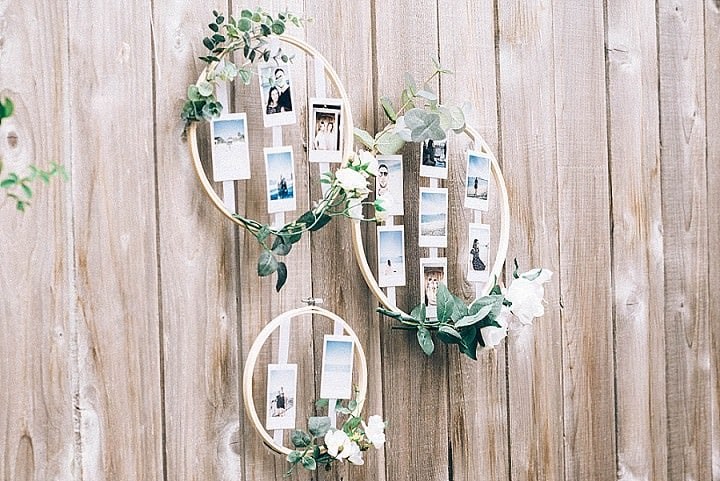
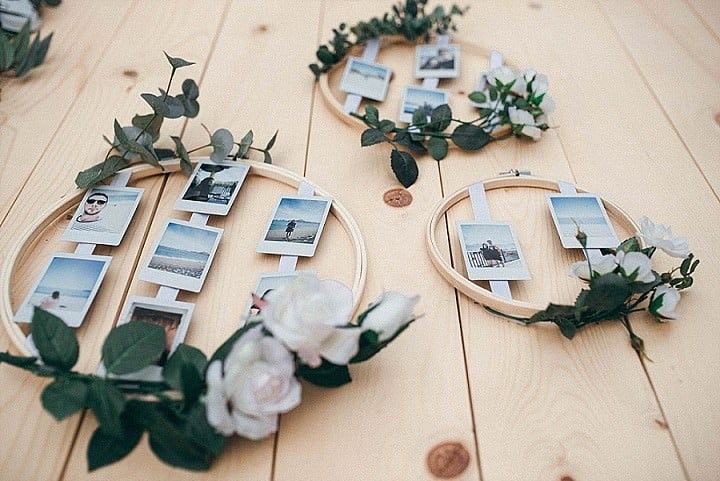
I haven’t shared a DIY with you for quite a while now, so when I was sent this gorgeous and pretty simple Photo Display idea I knew it would be the perfect DIY tutorial to share with you. I am seeing more and more photo display walls at weddings, so this wooden embroidery hoop idea is the perfect way to incorporate this fab trend into your wedding day. You can decorate it with flowers or with anything that goes along with your wedding theme. You could paint them to match your colour scheme or leave them minimal, it’s totally up to you.
As the age of ‘do-it-yourself’ all of us crafty people rejoice. Not only does this popular trend save us money, but it also gives us the ability to express ourselves creatively and work with our hands.
Something fun that always brings a personal element to any wedding decor is a wall or area for a photo display. The variety of how photo walls are made is vast, so the direction you can take for hanging photos on your wedding are endless.
One fun idea is using embroidery hoops of different sizes to hang on a wall at your wedding. It is a sweet and creative way to highlight your picture so that when guests wander through they can stop and admire all the special moments you wish to remember forever.
Displaying pictures in hoops is an easy project that isn’t super tedious and time consuming. It can be done in one evening. The end result is super cute and you can really add your own spin to it.
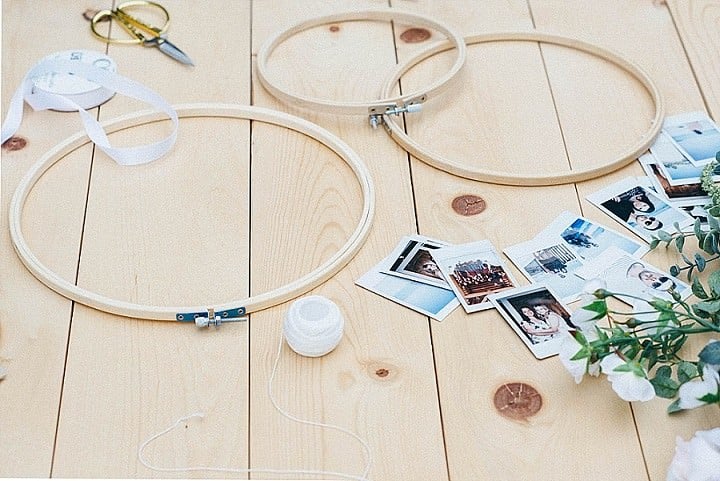
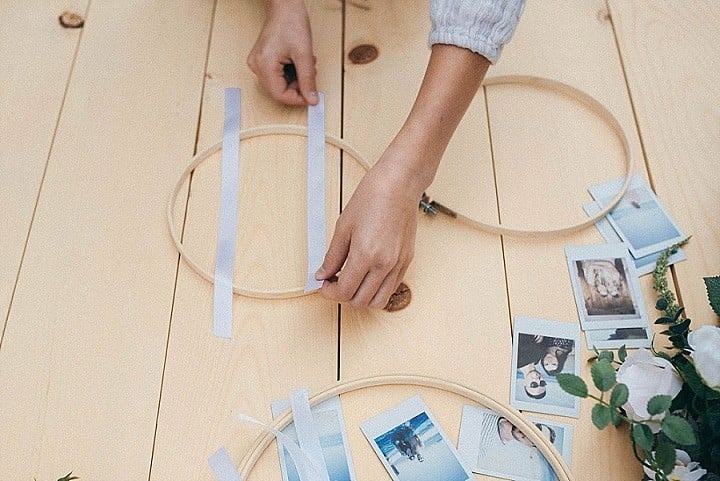
Step 1) Begin with undoing the double hoop by untwisting the latch, if its too tight use some pliers. You don’t want to loosen it too much as you will need to have a tight fit when you insert the ribbons, this will provide the ability to tighten the ribbons in the next step.

Step 2) Lay out the strips of white ribbon on the hoops parallel to each other with pre cut length, preferably you want to have even spacing and consider the size of your polaroids. You also want to give the ribbons some slack as you will need to use them tighten the tension later, so don’t cut them with exact length.
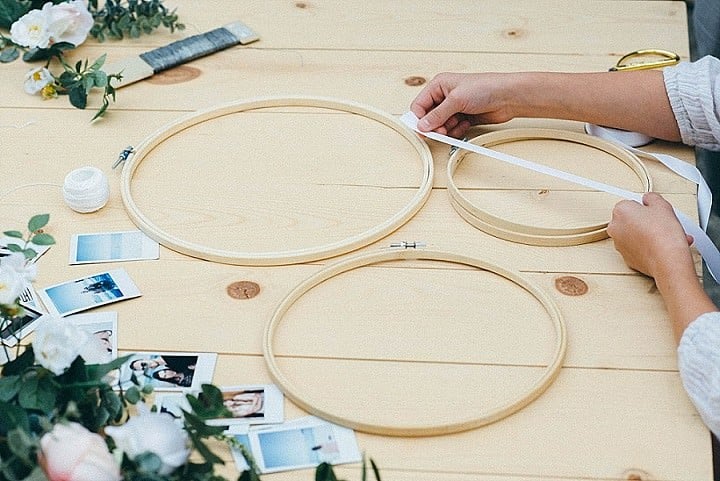

Step 3) Now that you got your ribbons all laid out and you are happy with the spacing of the ribbons, its time to snap the exterior hoops in to place to secure the ribbon. You want to begin at the bottom and work your way to the top. You will notice that the rims will naturally tighten the ribbon, if thats not the case then not to worry, follow the next step.
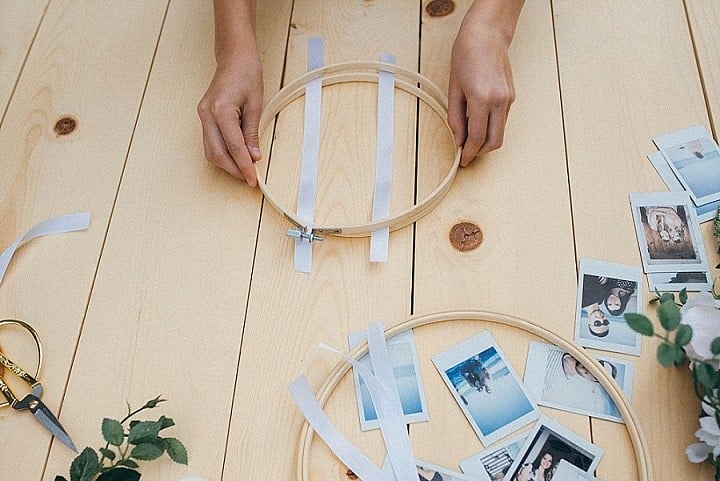

Step 4) Start tightening the ribbons by the slack on ether ends sides. Simultaneously you wan to tighten the hoop to secure your ribbon positioning. If you don’t like how the ribbons are positioning, then loosen the latch and and try to re position.


Step 5) Once you are happy with your ribbon positioning, then you can trim the slack with some scissors.


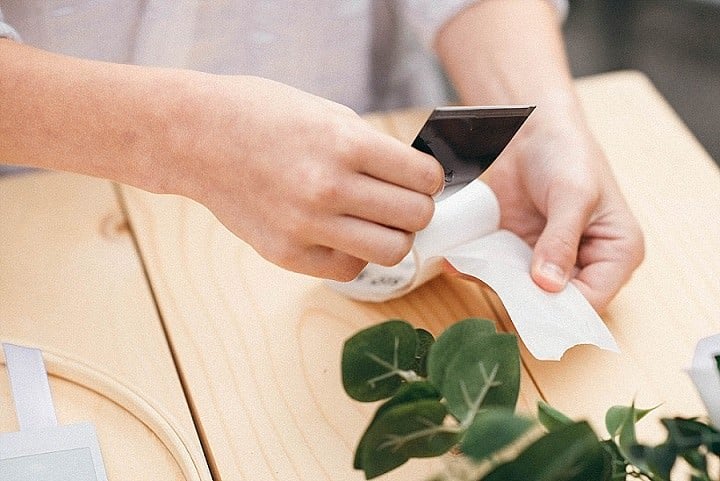
Step 6) Then when the ends of the ribbon are flush with the two rings, you can apply the hot glue to secure even more.
Step 7) Now you can spread out your polaroids the way you would like to have them be displayed. You don’t have to glue them just yet, we want to make sure that its just how you want it.
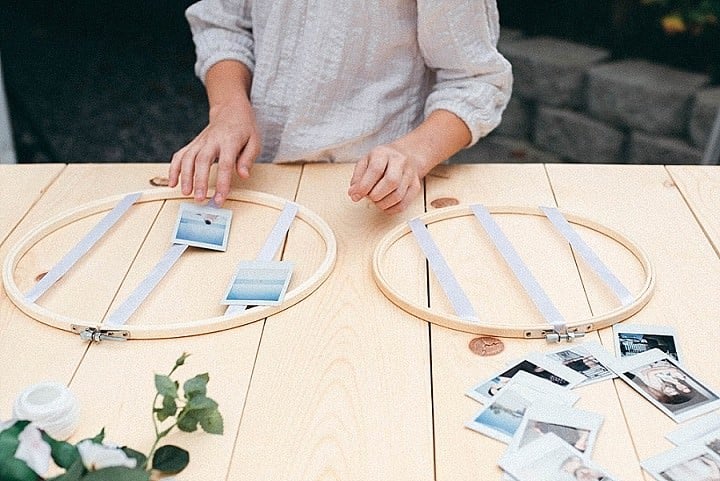

Step 8) Now that you like how the Polaroid’s are laid out, you are ready to glue them. Using glue dots, attach the Polaroids to the white ribbon. Make sure that you pinch the photo on to the ribbon by using your index finger for support, avoid pushing on the ribbon as it can be loosened.


Step 9) Your next step is to arrange a few stems of florals on the top and bottom of the hoop and secure it with tie wire. You don’t have to use floral decorate your hoops.

Step 10) Now repreat steps 1-9 on all other hoops.
And now you are ready to hang these beauties up, and you are another step closer to completing you amazing wedding decor.
This photo collage will make a unique display at your wedding., they are super personal and look so cute. I’m sure your guests will appreciate all the hard work.
Share this post
This site uses Akismet to reduce spam. Learn how your comment data is processed.


Comments