
I’m delighted to welcome Emily Carlill from Love me Sew back to the blog this afternoon. After crafting her own DIY wedding in 2011, Emily Carlill now continues to make lots of items for other people’s weddings. She also makes up one half of Love Me Sew, a crafty business selling fabric, craft packs and running workshops. Emily is a DIY expert, last time she showed us how to make a super cute Linen Favour Bags and today she is showing us how to make these Fabric Napkin Rings.


STEP 1) Cut the pieces for the napkin ring.
- Cut two pieces of fabric both 17cm x 7cm; this is give you a piece for the front and a piece for the back.
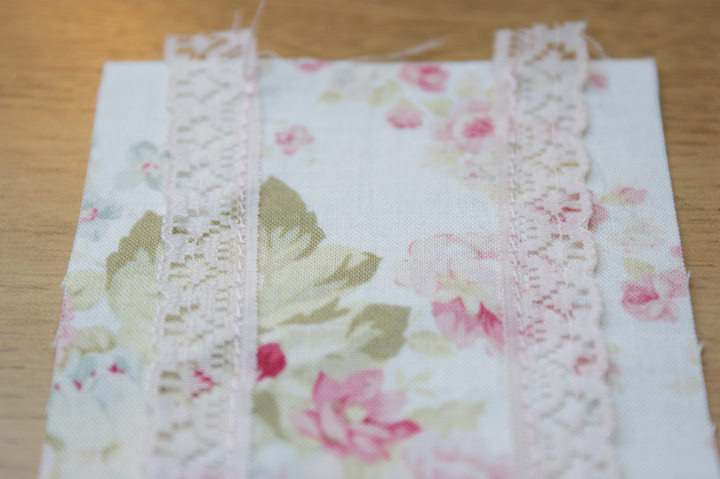
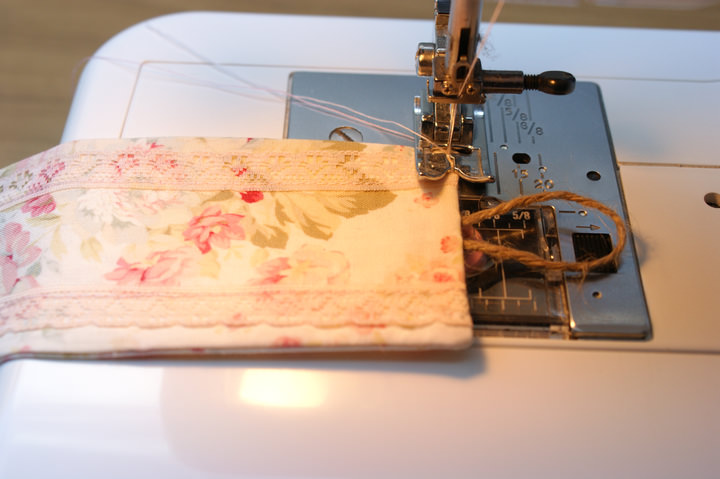
STEP 2) Attach the trim.
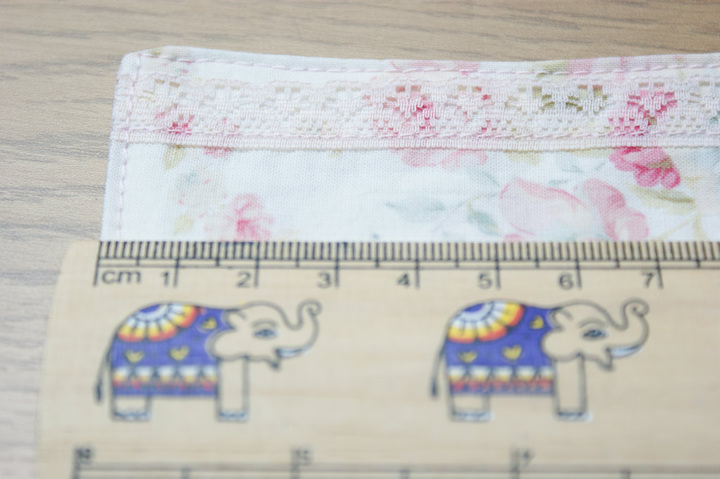
- Fold one piece of fabric in half length-ways, press with your fingers to form the centre fold.
- From this fold measure 1.5cm either side, make a small pencil/chalk mark. Repeat this at the top and bottom of the piece of fabric (the short sides).
- Place and pin the lace trim along the piece of fabric, 1.5cm either side of the fold line (using your small marks as a guide).
- Using matching thread, sew the trim in place
Please note: if you are using a wider trim, decrease the 1.5cm space so you still have approx. 1cm fabric along each edge.
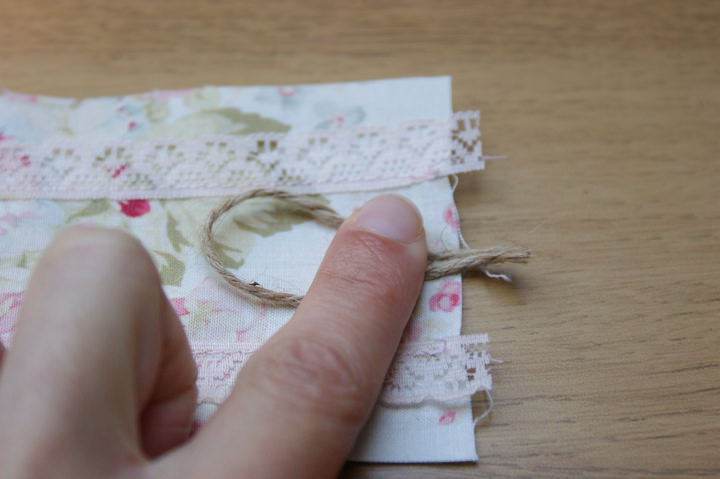
STEP 3) Attach the button loop.
- Cut piece of twine approximately 10cm long.
- Fold the piece of twine to form a loop.
- Place the loop, with the raw edges poking over the edge of the fabric, onto the centre fold of one end of the front piece of fabric (the piece you just added the trim to).
- Sew in Place
STEP 4) Attach the backing
- Place the other piece of fabric, the backing piece, right-sides to right-sides, on top of the front piece, sandwiching the button loop.
- Pin together.
- Using a 0.5cm seam allowance, starting from one of the long sides, sew a straight stitch all around the edge of the napkin ring, stopping approx. 3cm before you reach your starting point. Stay stitch at the start and end to hold the stitches in place.
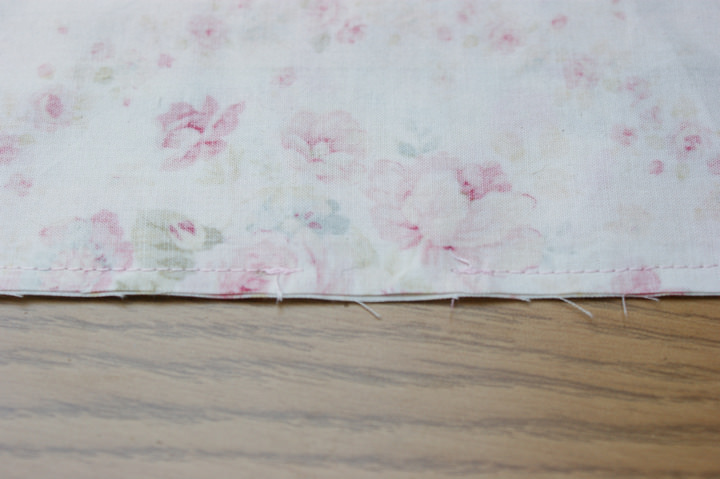
STEP 5) Finishing
- Press the seam allowances open around the opening.
- Turn the right way out through the opening. Press.
- Top stitch close the edge all the way around the napkin ring.
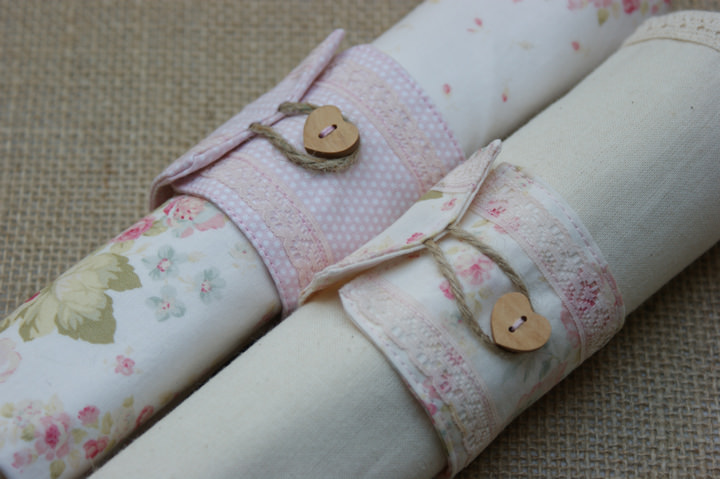
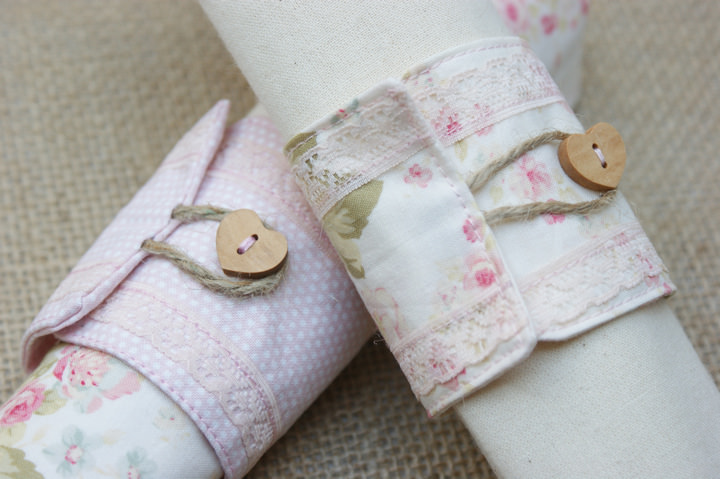
- On the opposite end to that of the button loop, measure approximately 3.5cm from the edge and make a small mark – sew your button here.
And You’re finished! Don’t they look cute!
For more information on Emily’s DIY ideas go to
www.lovemesew.co.uk
http://blog.lovemesew.co.uk/
Facebook
@LoveMeSew
After crafting her own DIY wedding in 2011, Emily Carlill now continues to make lots of items for other people’s weddings. She also makes up one half of Love Me Sew, a crafty business selling fabric, craft packs and running workshops (including DIY wedding workshops and crafty hen dos) with business partner Sam Lowe.


Comments